
Creating a Base View
Base view will be the first view of the drawing. It can be any view (front, top, right, left, bottom, back) of the model. But commonly, the front or top views of the model are generated first.
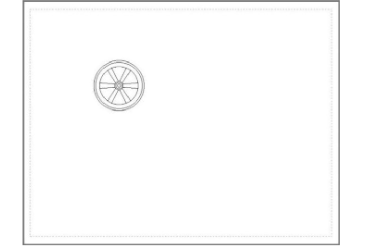
Open the Example 3.dwg, if it is not already opened.
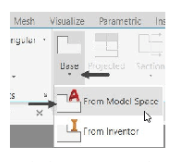
To generate the base view of the model, click Home > View >
Base > From Model Space on the ribbon; the message, “Select
objects or [Entire model] <Entire model>:” appears in the
command line.
Select the Entire model option from the command line; the model
in the model space will be selected and the message, “Enter new
or existing layout name to make current or [?] <Layout1>:”
appears in the command line.
Press ENTER to select Layout 1; the base view will be attached to the cursor and the
message, “Specify location of base view or [Type sElect Orientation Hidden lines Scale
Visibility] <Type>:” appears in the command line. Also, the Drawing View Creation tab appears in the ribbon.
Specify the location of the view in the paper space, as shown below.
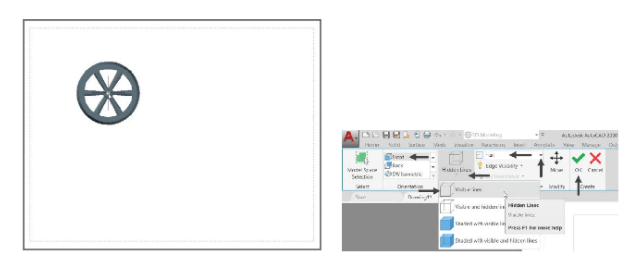
In the Drawing View Creation tab, set the Orientation to Front.
Select the Visible Lines option from the Hidden Lines drop-down.
Set the Scale in the Appearance panel to 1:40.
Click the OK button on the Create panel to create the base view; a projected view will be attached to the cursor and you will be asked to specify its location. You will learn to create projected views in the next section.
Press ENTER to exit the command line.


