Creating a Detailed View
A detailed view is created to enlarge and view small portions of a drawing.
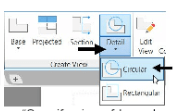
To create a detailed view, click Layout > Create Views > Detail
> Circular on the ribbon; the message, “Select parent view”
appears in the command line.
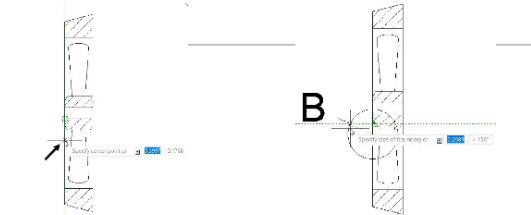
Select the section view from the layout; the message, “Specify
center point or [Hidden lines Scale Visibility Boundary model
Edge Annotation] <Boundary>:” appears in the command line.
Select a point on the section view, as shown below; the message, “Specify size of boundary or [Rectangular Undo]:” appears in the command line.
Draw a circle similar to the one shown below.
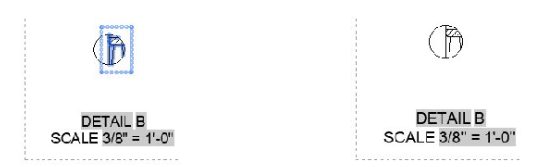
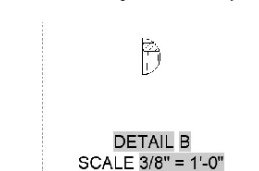
Next, place the detail view on the lower right corner of the layout, as shown.
Select the Smooth with border button on the Model Edge panel of the Detail View Editor tab.
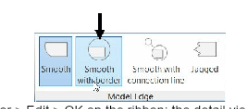
Click Detail View Editor > Edit > OK on the ribbon; the detail view will be created.