

Creating Cones
Creating a cone is similar to creating a cylinder. It has a similar shape compared to a cylinder; but it is tapered on one side.
Example:
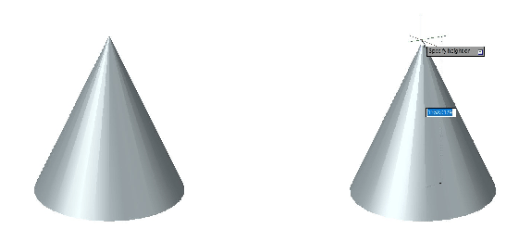
To create a cone, click Home > Modeling > Primitives drop-down > Cone on the ribbon; the message, “Specify center point of base or [3P 2P Ttr Elliptical]:” appears in the command line.
Pick an arbitrary point from the drawing window; the message, “Specify base radius or [Diameter]:” appears.
Type a radius value in the command line and press ENTER. You can also select the
Diameter option to specify the diameter of the base.
Move the cursor in vertical direction and pick a point to specify the height of the cone. You can also type-in the height value in the command line and press ENTER; the cone will be
created.
Example:
Type CONE in the command line and press ENTER.
Select the Elliptical option from the command line; the message, “Specify endpoint of first
axis or [Center]:” appears in the command line.
Pick a point to specify the end point of the first axis.
Move the cursor and click specify the other end point of the first axis. You can also type-in the
length of the first axis and press ENTER; the message, “Specify endpoint of second axis:”
appears.
Pick a point or type-in the radius value to specify the second axis.
Move the cursor upward and pick a point to specify the height. You can also enter the value of height in the command line or Dynamic Input box.
Example:
Click Solid > Primitive > Primitive drop-down > Cone on the ribbon.
Select the center point and specify the base radius as 200; the message,
“Specify height or [2Point Axis endpoint Top radius]” appears in the
command line.
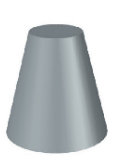
Select the Top radius option from the command line; the message,
“Specify top radius:” appears.
Type 100 as the top radius value and press ENTER.
Move the cursor upward and enter 400 as the height.


