
Creating a 3D Polar Array
You can create a 3D polar array by using the Polar option of the 3DARRAY command. This option is similar to the 2D Polar Array tool. The only difference between these two tools is that you need to specify an axis of rotation in 3D polar array, whereas in 2D Polar array you need to specify an axis point. The axis of rotation in 3D polar array can be specified by selecting two points. This allows you to create a 3D polar array about any axis in the 3D workspace.
Type 3A in the command line and press ENTER.
Select the truncated cone from the model and press ENTER.
Select the Polar option from the “Enter the type of array” shortcut menu displayed; the message, “Enter the number of items in the array:” appears.
You can also select the Polar option from the command line.

Type 6 in the command line and press ENTER; the message, “Specify the angle to fill (+=ccw, -=cw) <360>:” appears in the command line.
Note: You need to type + with the angle value to create the polar array in counter clockwise
direction and type – with the angle value to create it in the clockwise direction.
Press ENTER to accept 360 as the fill angle; the message, “Rotate arrayed objects?
[Yes No] <Y>:” appears in the command line.
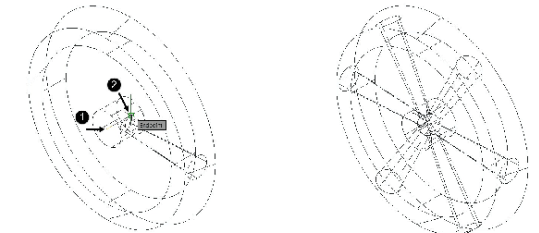
Select the Yes option from the command line; the message, “Specify center point of array:” appears.
Select the first and second points of the axis as shown in figure; the polar will be created.
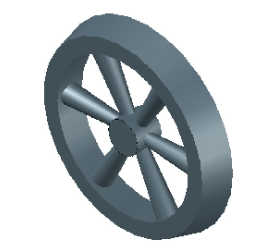
Change the Visual Style to the Shades of Grey.
Perform the Union operation to combine all the objects.


