
Modeling of Ramp Elements
To draw ramp elements in ETABS is very simple. It is basically drawing a regular area
element except that at least two of the corner points are located at different elevations.
For this model, ramps are located on the underground parking levels, which are floors
6.
Go to the plan view of Story 6. The ramp will be located in between gridlines B and J.
Make sure the Similar Stories option is enabled. Go to Draw>Draw Area>Draw Area
Object and in a counter-clockwise manner, click on grid intersections J4 and then J6. Go
down one story to level 5(press the down arrow button at the top of the screen) and click
ion grid intersection B6 and then J4. All of the ramp elements from stories 6 will be
created. By default, all ramp elements are given a SLAB1 property type.
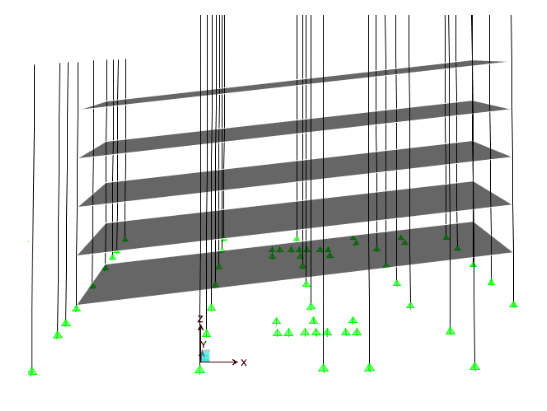
If you turn off the wall, grid line, floor and opening properties in the model, you can see
the ramps very well. (See Figure 16). To do this, go to View>Set Building View
Options>and de-select the options you don’t wish to view.
Figure 16 View of Ramp Elements


