

Setting up the Exterior Camera Views
In this part you will save an exterior rendered perspective view of your project. As in the previous part, you may choose to use the Revit program or the Cloud service to complete your renderings.
-
Open the RL6-3 file. Save the file as RL6-4.
- Open the Site Plan view.
-
Position the camera at the lower right corner of the site and point towards the center of the house.
-

Camera Position
- After the perspective view opens, turn on the shadows and set the Azimuth to 120 degrees and the Altitude to 40 degrees.
Uncheck the Relative to View checkbox.
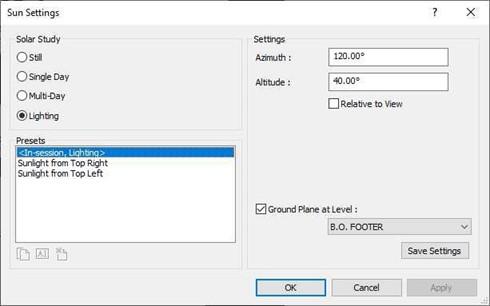
Sun Settings Changed
- The exterior perspective view of the house should look like this.
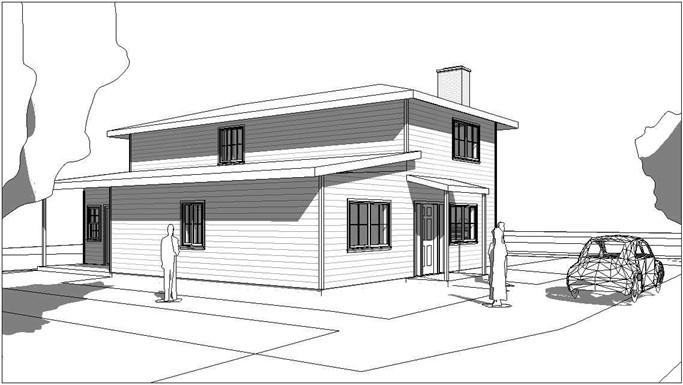
Exterior Perspective View
- Crop the view until you are satisfied with the result.
Save the view as: Exterior Perspective – 1
- Create at least two additional Exterior Perspective views of the house.
- This is the end of Part 4. Save your file as RL6-4.


