
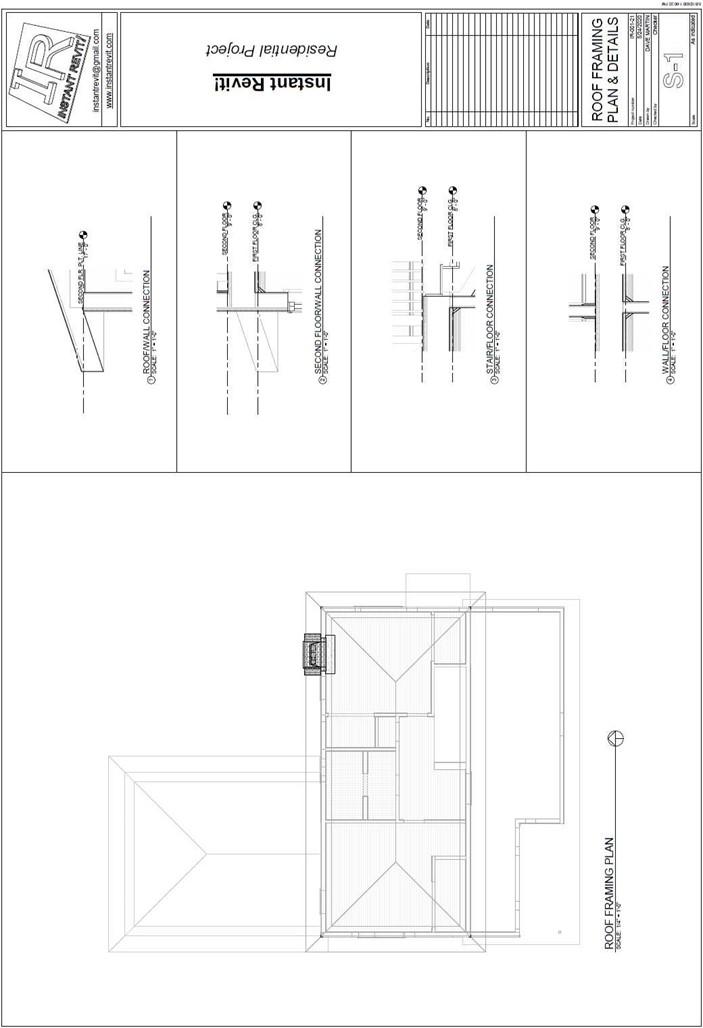
ROOF FRAMING PLAN
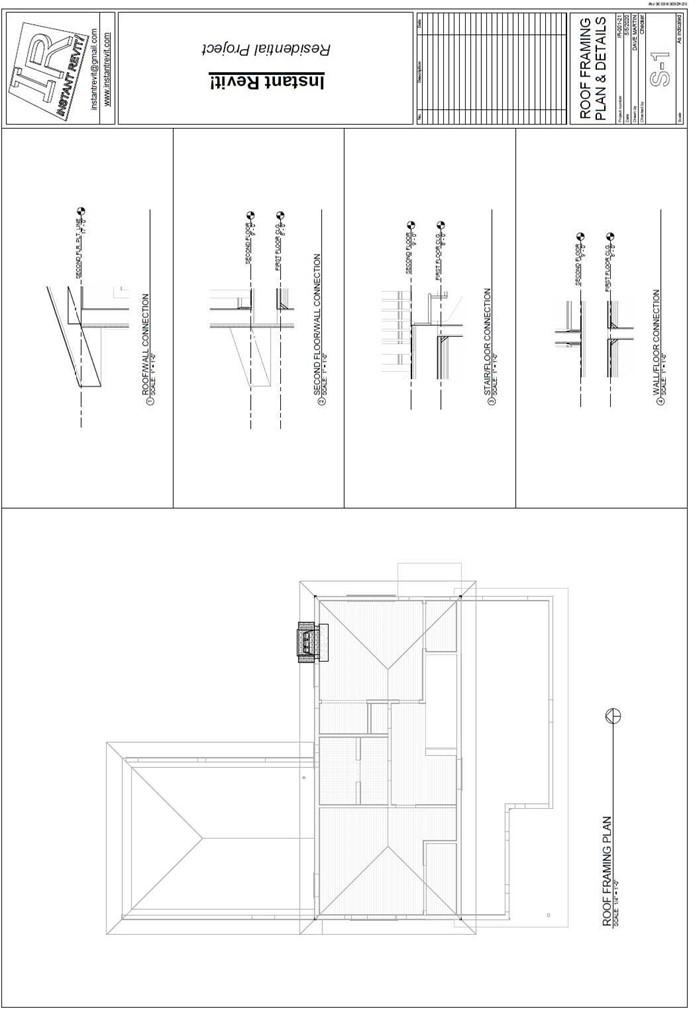
Roof Framing Plan & Details
Creating the Sheet View
- Open the RL7-13 file. Save the file as RL7-14.
- Create a sheet for roof framing plan and the framing details
- The scale of the plan view is 1/4″ = 1′-0″.
- The scale of the framing details is 1″ = 1′-0″.
-
Add detail lines to divide the left side into four equal parts.
The horizontal lines are spaced 5 3/4″ inches from one another. The vertical line is 9″ from the left side of the border line.
- Drag and drop the plan view and the detail views onto the sheet.
Add a North Arrow to the plan view.
- Place the plan view on the left side of the sheet.
Place the detail views on the right side of the sheet centered in the boxes. After placing, line up the detail view titles vertically.
Note: You will not be placing annotations or dimensions within these views.
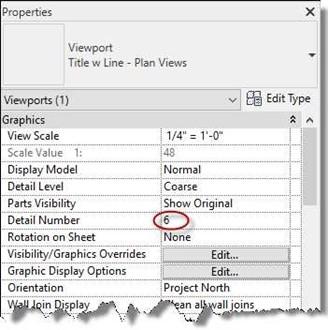
- Click on the Framing Plan view and change the detail number to 5 in the Properties box.
Change the first detail view number to 1.
Number the remaining detail views 2-4.
Detail Number Changed to 6
- Use the Title w Line – Larger Text type for the view label on the Roof Framing Plan.
- Use the Title w Line – Medium Text type for the view labels on the four framing details.
- This is the end of Part 14. Save your file as RL7-14.


