
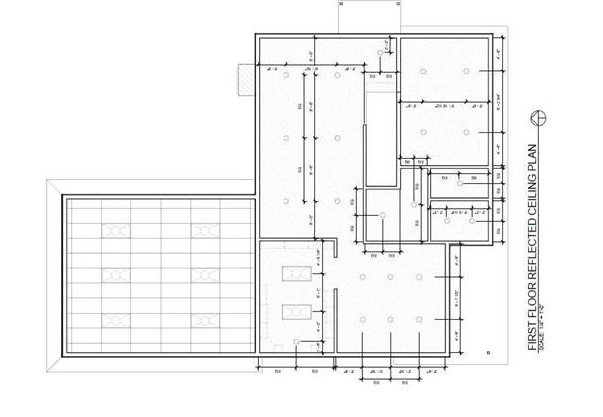
REFLECTED CEILING PLANS
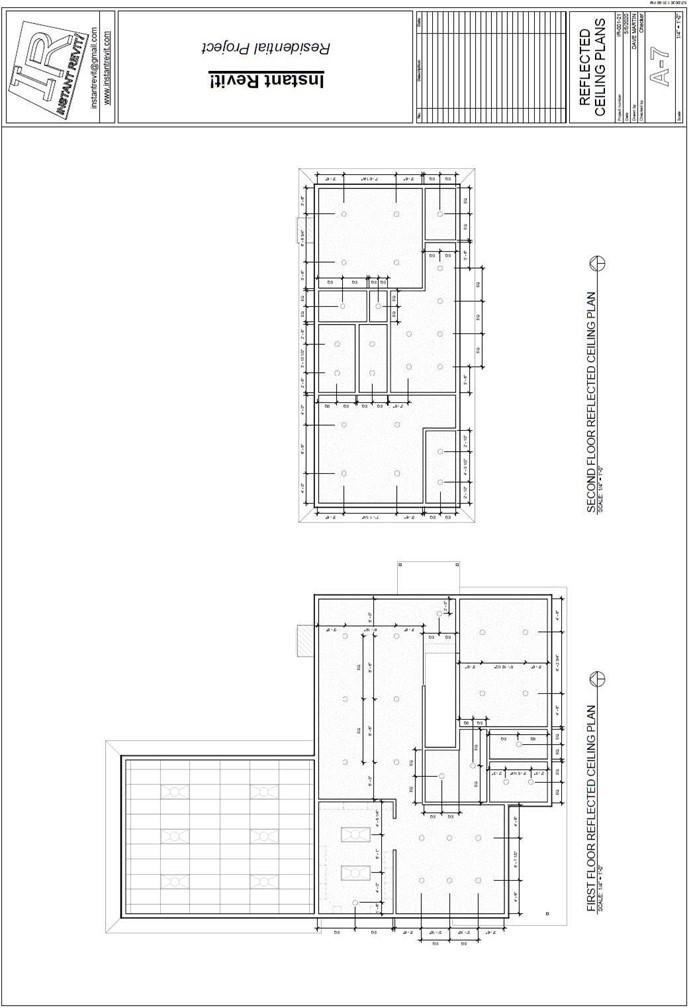
Reflected Ceiling Plans
Creating the Sheet View
- Open the RL7-6 file. Save the file as RL7-7.
- Create a sheet for the first and second floor reflected ceiling plans.
- The scale of the plan views is 1/4″ = 1′-0″.
- For these views leave the reference planes on.
If you used reference planes to locate the lights, the dimensions will turn off if the planes are hidden.
- Drag and drop the ceiling plan views onto the sheet.
- After placing the views, line up the first floor plan view with the other plan view sheets.
Line up the second floor view with the first floor view.
- After selecting the viewport, change the name of the views of each of the sheets using the Properties dialog box.
Do not change the view name.
- Add a North Arrow for both views.
- Use the View Title – Large Text for the view labels.
- This is the end of Part 7. Save your file as RL7-7.


