
Lowering the Topography, Garage Slab, and Driveway
Lowering the Topography
The reason that the topography will need to be lowered is because the floor for the house has been changed from concrete to wood. Wood cannot be exposed to earth due to rotting. The top of the topography in this area will need to be lowered to – 1′-6″ from the first floor. This is similar to what was done on the south exterior walls.
- Open the RLA-4 file. Save the file as RLA-5.
- Open the Site Plan view.
- Select the topography and click the Edit Surface tool.
- Change/add the following points to their new values.
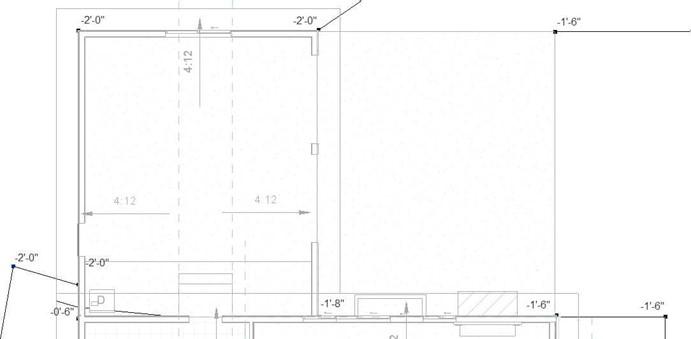
Topographical Point Elevations North Side of House
- Open to 3D View to observe the changes in the topography.

Topography Changed
Lowering the Garage and Driveway Slabs
Next you will lower the heights of the garage and driveway slabs from -0′-4″ to –
1′-6″.
- Open the North Elevation view and change the height of the garage floor level to -1′-6″.
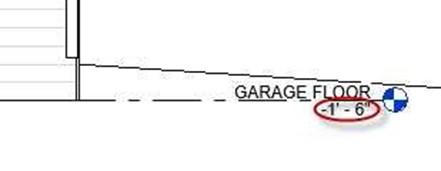
Garage Floor Level Changed to -1′-6″
-
Select the driveway slab and change the height to -1′-6″ from the First floor
level.
- Select the three garage exterior walls and change the Base Offset to -1′-6″.
- Select the north exterior wall of the house and change the base extension distance to -1′-0″. This will cover the edge of the wood floor with the exterior plywood and siding.
- Change the Garage Plate Line level from 9′-0″ to 8′-0″.
- Open the Garage – South interior elevation view. Select the crop window and move the top edge up to make the roof visible.
Change the Base Offset From Level setting for the Garage Roof to 8′-0″.
- Change the Garage Ceiling line to 7′-6″ and align the ceiling to the level.
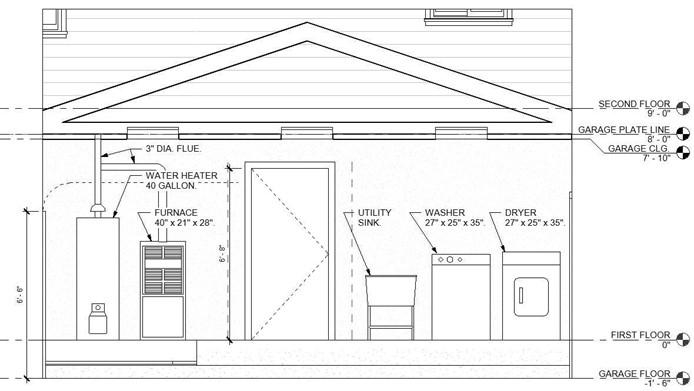
Levels Changed to New Settings
- The fixtures are still at the first floor level.
- Create a new level called Garage Utility Platform. The level height will be -1′-0″.
- Select the utilities and change the Level Constraint to Garage Utility Platform.
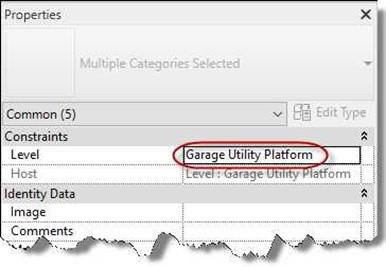
Level for Garage Utilities
- Select the notes for the utilities and lower them 1′-0″.
Adjust the flue to connect to the water heater.
Adding the Garage Stairs
You will need to add stairs from the garage utility platform to the first floor level.
The height difference is 1′-0″ so you will need two risers of 6″ each.
 Instead of using the stair tool, you will use the Component, Model-in-Place tool to create an extrusion.
Create a new interior elevation view in the garage.
Set the front clip plane to the left of the door.
Open the view.
- Click on the Component. Model-In-Place tool. Select Stairs for the family category.
- Name the Family Garage Platform Stairs.
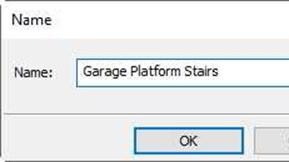
Family Name
- Pick the far wall of the garage as the work plane.
- Draw the shape as shown, dimensions are not required.
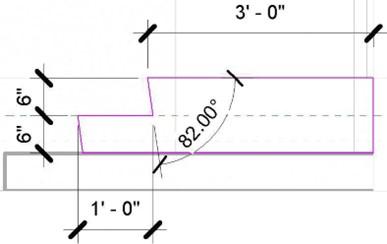
Stair Dimensions
- Click the green check. The stairs will be located at the far wall.
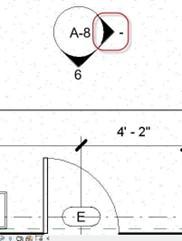
- Open the first floor view.
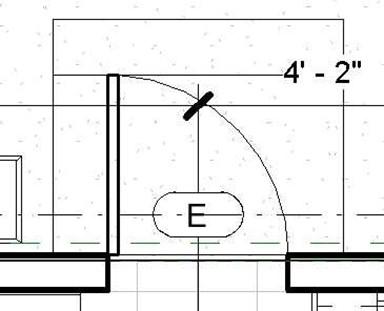
Place two reference plans centered on the kitchen door 4′-10 apart from each other.
- Use the Align tool to align the left and right edges of the stair to the reference planes.
Hide or erase the planes when finished.
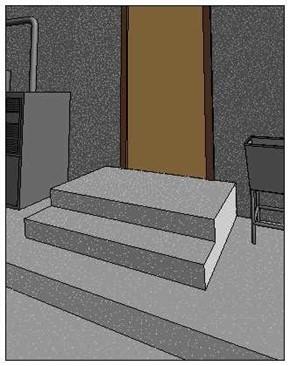
- The stairs are placed.
Uncheck the interior elevation view that was used for the profile.
Plan View of Stairs 3D View of Stairs
-
Change the Base Extension Distance for the Garage Partition wall type to -1′- 0″. Unlock the two exterior wall layers. Do this for both walls if the walls were split when placing the baseboards.
This will cover the edges of the floor with the gypsum wall layer.
- This is the end of Part 5. Save your file as RLA-5.


