

Applying the Floor Surface Material to the Kitchen, Bathrooms,
and Other Rooms
Next you will apply the floor surface material for the Kitchen, Bathrooms, and other rooms/areas in the house.
- Open the RL2-8 file. Save the file as RL2-9.
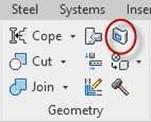
- Go to the Split Face tool on the Modify tab, Geometry panel.
Split Face Tool
- Click on the tool and then pick the edge of the floor on the north side of the kitchen as shown.
Note: You may need to press the Tab key until the edge of the floor is selected. When cycling through the choices, look at the bottom left of the screen for a description of the selected material.
Selected Material Name Displayed

Edge of Floor
-
The floor edge will change to orange.
Use the tools in the Draw panel to create the boundary as shown. Make sure to extend the magenta lines to the floor edges at the north doorway.
Do not overlap the magenta line onto the floor edge. (The boundary has been changed to black for clarity.)
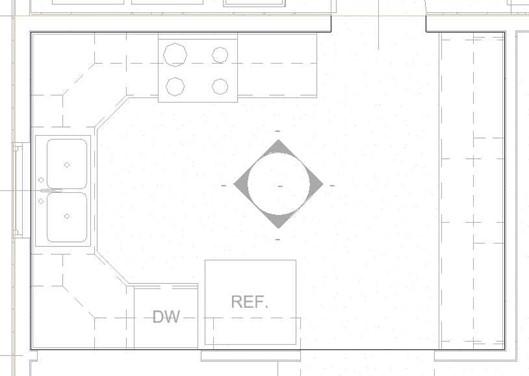
Sketch Boundary
- Click on the Green Check then click on the Paint tool below the Split Face tool.
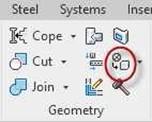
Paint Tool
- In the Material Browser dialog box, select the material you created earlier. (Highlighted in Blue)
Do not close the Material Browser dialog box until after you have changed the material.
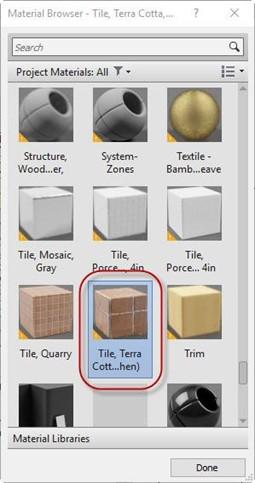
Material Browser
-
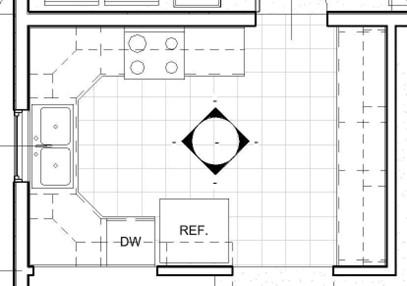 Click in the middle of the kitchen. The material will fill the boundary.
Click the Done button after the material has been changed.
Kitchen Floor Material Applied
- If you cannot see the floor patterning, it may be turned off.
Open the Visibility Graphics Overrides for the view.
- Type VV or click on the Edit… button next to Visibility/Graphics Overrides to open the dialog box.
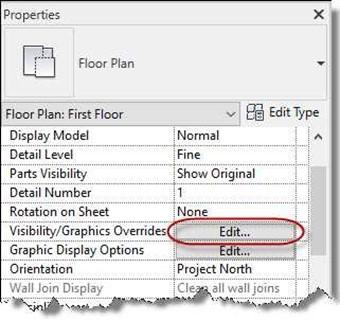
Edit… Button to Open the Visibility Graphics Override Dialog
- Scroll down to the Floor Visibility. Click in the Pattern box and then on the Override button to open the Fill Pattern Graphics dialog box. Check the Visible checkbox and click OK. Click OK again to close the Overrides dialog.
This is also the method that you will use to turn the floor material on and off in other views.

Override Button
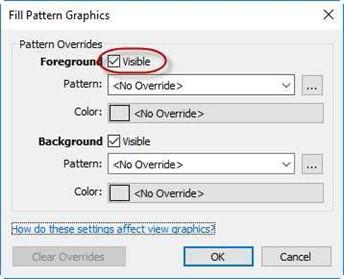
Fill Patterns Graphics Dialog Box
.
- Repeat the process for the bathrooms.
Use the “Tile, Porcelain, 4in” material for both bathrooms and lavatory. Duplicate and rename the material “Tile, Porcelain, 4in (Bathroom)” Modify the material so that the lines are light gray.
Note: If you have difficulty picking the floor edge on the second floor, you
may need to temporarily hide the north exterior wall.
After splitting the face and changing the material, unhide the wall.

 Tile, Porcelain, 4in Material Surface Pattern Changed to Light Gray
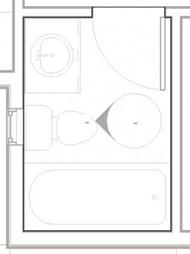
First Floor Bathroom
Boundary Second Floor Bathroom/Lavatory Boundary
- Create the boundary for the Family Room as shown. Note the break at the transition to the kitchen.
At the bottom create a 2″ jog towards the sliding door.
In the next step you will create an area for the threshold.

Material Boundary Breaks

2″ Jog
- Add the material for the Family Room. You will use Wood Flooring for the material. This material will need to be loaded into your project.
- To load the material, go to the Materials tool in the Manage tab, Setting panel. Type in “Wood Flooring” in the Search Bar at the top of the dialog box.
- Click on the Wood Flooring material at the bottom.
Click on the up arrow to load the material into your project.
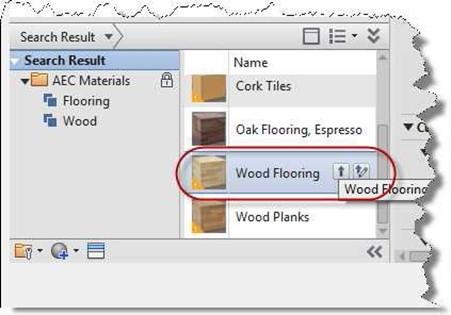
- Rename the material Wood Flooring (Family Room).

Material Browser Dialog (Wood Flooring)
-
Set the surface pattern to 3″ parallel and the color to light gray.

Fill Patterns Dialog (Wood Flooring)
-
Use the Paint tool to apply the surface.
- The next material you will apply will be for the front entry. Use the same material as you used for the Kitchen.
Draw the boundary for the front entry as shown.
Include a 2″ jog towards the front door.
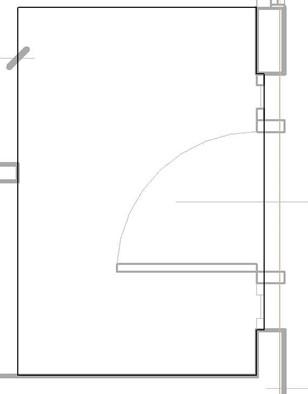
Front Entry Boundary
-
Use the Paint tool to apply the surface.
- If the rest of the living room changes to the wood flooring material, use the Remove Paint tool to change it back to the original carpet material.
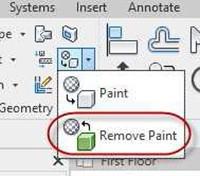
Remove Paint Tool
- The last materials to apply are for the thresholds in the family room and the entry. Use Metal – Stainless Steel for the material. There is no surface pattern for the material.
When creating the boundaries, you will only need to draw two short lines enclosing the area between the room and the edge of the floor.
Note: If you have difficulties enclosing the boundary for the threshold in the Family Room, you may need to delete the Family Room boundary and draw the threshold boundary first. Then you will draw the boundary for the Family Room after that.
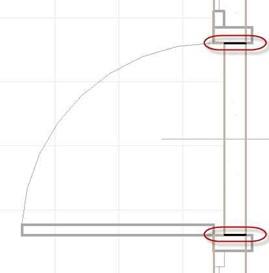

Entry Threshold Boundary Family Room Threashold
- This is the end of Part 9 and Tutorial Two. Save your file as RL2-9.


