
Managing OneDrive
OneDrive is the online file storage area that you can access once you have signed up for a Microsoft account. It provides you with a means to access services and devices and was previously known as Windows Live ID. You can use OneDrive if you have a Microsoft account or Microsoft 365 Work/School account access. OneDrive is free to use if you are
happy to only have 5 GB of storage space. If not, you can choose from a range of paid plans.
OneDrive is important as the service allows you to add (save) documents directly from within the Microsoft Office 2021 applications to the online storage facility.
Many features within the new version of Office will only be activated once you’ve done this. Previously, we could upload files to OneDrive and/or save them directly to OneDrive. This feature is now integrated so that we can move files and see version history directly within the Office applications, instead of having to open OneDrive to achieve this.
Like many other plans, OneDrive offers Home and Business plan options. The differences between them relate to the amount of storage quota, your monthly or annual subscription, whether you need the storage free for personal use or Microsoft 365 apps, or whether you want business use with access to Office apps.
In the next section, we will learn how OneDrive is integrated into Word 2021.
Saving documents to OneDrive
As we mentioned previously, for the AutoSave feature to be enabled within Office 2021 applications, you need to ensure that your file is saved to OneDrive. One of the pros of using OneDrive as the preferred storage location for documents is that you will not lose any work as the document is updated constantly in the background. Having files stored in the OneDrive app also means that you can access them at any time on any device that’s logged into the Office 365 service.
Follow these steps to save documents to OneDrive:
- Click the File tab.
- Choose Save As from the list on the left.
-
If you are connected to OneDrive, you will see your accounts already listed here. We are already associated with OneDrive – Personal, as shown in the following screenshot:
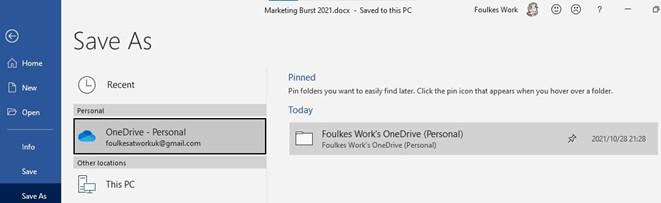
Figure 1.18 – The Save As options in Word 2021 showing the connection to OneDrive – Personal
- If the OneDrive connection is not readily available, click the Add a Place option:
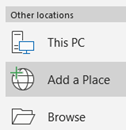
Figure 1.19 – Available locations when saving documents
- Finally, choose from either the OneDrive or OneDrive for Business option:
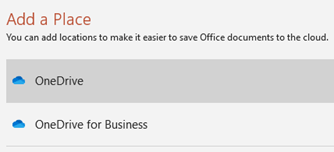
Figure 1.20 – Selecting OneDrive or OneDrive for Business as a document location
- After selecting the location, you may be asked to sign in to your OneDrive account if you have not already done so:
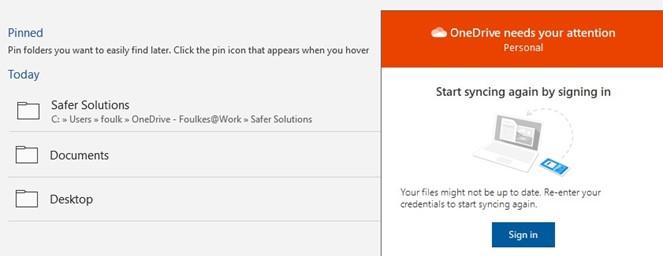
Figure 1.21 – Dialog box prompting you to sign in to OneDrive to sync files
- Add or amend the File name: description, if necessary:
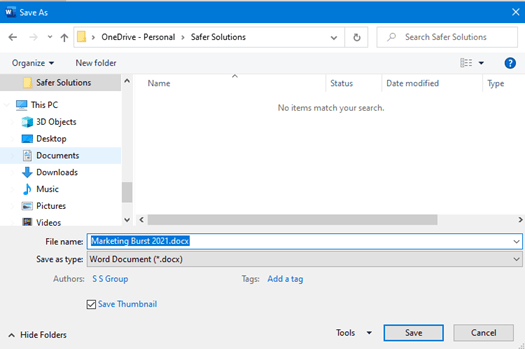
Figure 1.22 – Adding or amending the File name: description
- Click the Save button to confirm your choice.
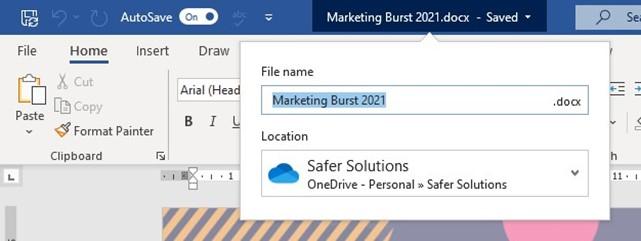
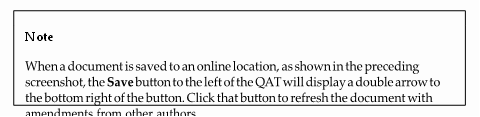
The document will now be saved to the cloud and the title bar will display Saved… just after the description of the file. Every couple of seconds, the filename area will refresh to display Saving…. This will happen when OneDrive updates (syncing) any amendments you’ve made to the cloud automatically:
Figure 1.23 – The title bar indicating when the document is updated and saved to the cloud
Note that documents will not sync automatically to the cloud, nor from the cloud to your devices, unless the following is true:
- Sync is activated on your device.
- You have an active internet connection.
- You have set up your OneDrive account and you are signed in.
- A document is currently open and reporting a sync error.
Next, we will learn how to sync documents to OneDrive and learn about the various status icons in File Explorer for your OneDrive connections.


