

SECOND FLOOR PLAN
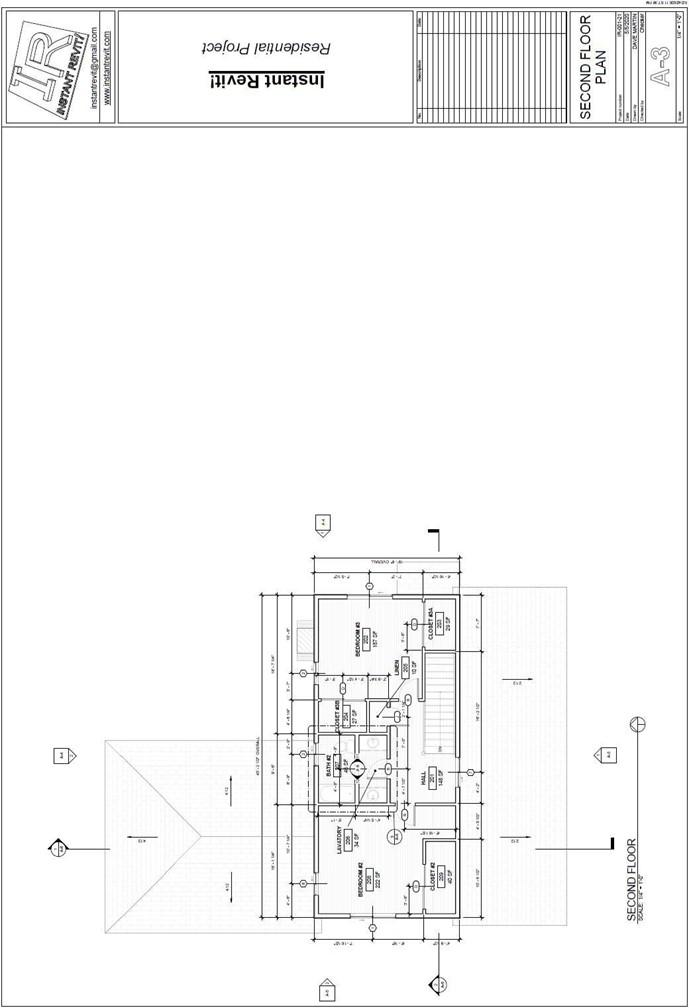
Second Floor Plan
Creating the Sheet View
- Open the RL7-3 file. Save the file as RL7-4.
- Create a sheet for the Second Floor Plan.
- The scale of the view is 1/4″ = 1′-0″.
- Drag and drop the Second Floor view onto the sheet.
Position the view on the left side.
- You may need to hide site elements, furniture, and reference planes.
Match the example view shown.
- To line up the plan views from sheet to sheet, you may add a detail line at the lower left corner of the border. The second point is at the intersection of the north and west walls. You will not be able to snap the second point on the plan view.
Start on the first floor view and then copy back to the second floor view.
Use this same line back on the other plan views. Copy the line from view to view and paste to the current view so it lands at the same location.
Hide the line when finished aligning the view.
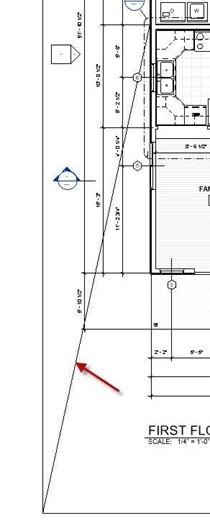
Line Added to First Floor Sheet
- Add the north arrow and update the view title.
- Add the slope symbols to indicate roof slope for each roof surface.
- Use the Title w Line – Larger Text type for the view labels.
- This is the end of Part 4. Save your file as RL7-4.


