
COLOR LEGENDS
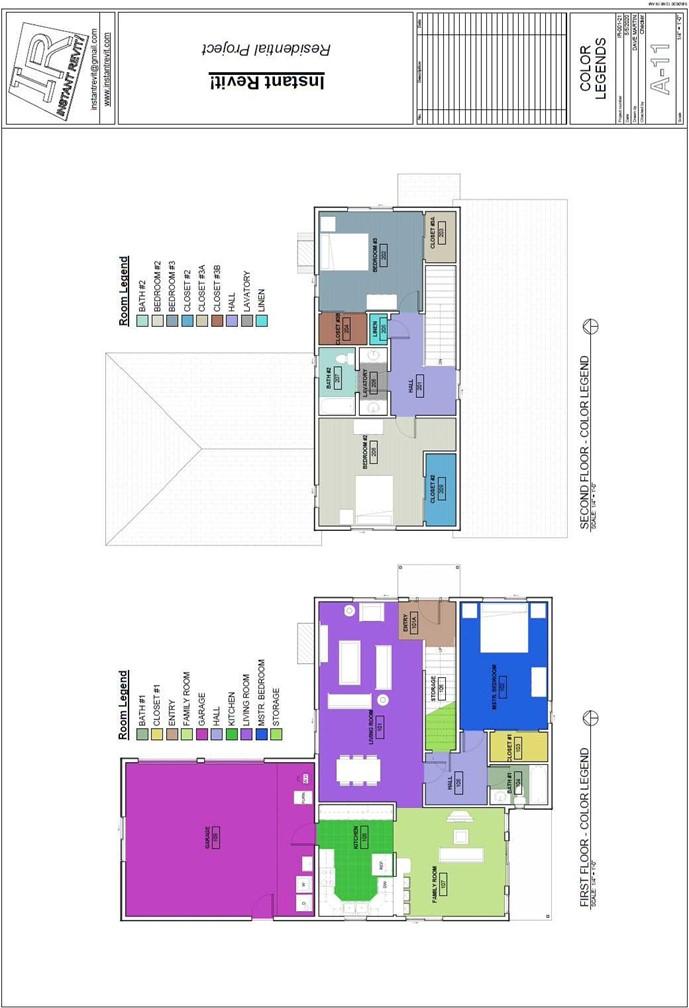
Color Legends
Creating the Sheet View
- Open the RL7-9 file. Save the file as RL7-10.
- Create a sheet for the first and second floor color legends.
- The scale of the legends is 1/4″ = 1′-0″.
- Open each view and remove the site elements and section view marks.
- Drag and drop the color legends onto the sheet.
 Align the views with the other plan views.
- You will also line up the Room Legends for both views.
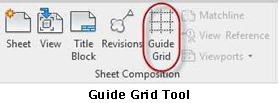
You will use the Guide Grid tool to do this. The tool is in the View tab, Sheet Composition panel.
-
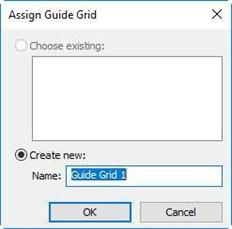 The Assign Guide Grid dialog box opens.
You do not need to create a new grid type. The default version has the grids spaced at
1″.
You may move and resize the grids if needed.
Note: If you turn on the guide grid in other views, the grid will be in the same location
relative to the sheet.
Assign Guide Grid Dialog Box
- Activate the first floor view and move the top of the room legend to one of the grid lines.
Activate the second floor view and move the legend to that same horizontal grid line.
The grid lines will be visible but grayed out. You may hide the guide grid in the view.

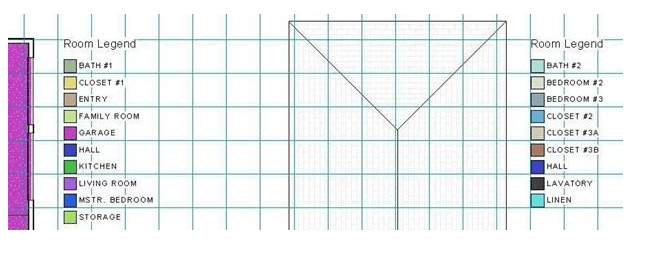
Room Legends Lined Up
- Use the Title w Line – Larger Text type for the view labels.
- After placing the views line up the first with the second floor view.
Add a North Arrow for both views.
- This is the end of Part 10. Save your file as RL7-10.


