
Assembling the Sheet Views and Portfolio
Starting the Tutorial
- Start Revit 2021 by clicking on the icon on the desktop.
- Open the last file from Tutorial Six, RL6-5.
- Save the file as RL7-1.
Note: Since there are many parts to this tutorial, you may wish to not save the tutorial at the end of each part. This will save a considerable amount of disk space.
In this last tutorial you will set up the different sheet views needed for the project. After the sheets are created and set up, you will then assemble the files into a portfolio. You will use another program to create the PDF files and merge them into one file.
If you have difficulty viewing the book examples of the sheets, download the PDF example of the portfolio within the website support files.
Sheet T-1 – TITLE SHEET

Title Sheet
Creating the Sheet View
- Go to the Sheets section of the Project Browser.
If you created any new sheets during the tutorials, delete them.
- In the Sheets section. Select each sheet and delete them from the file.
You may delete all the sheets at once by selecting the first sheet, holding the Shift key, selecting the last sheet, and then pressing the delete key.
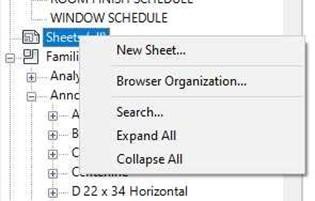 Right-click on the word Sheets in the Project Browser and select New Sheet…
-
Click the Load… button and load the D 24 x 36 Horizontal
– Instant Revit! family file.
This file is in the Custom Families folder or on the website.
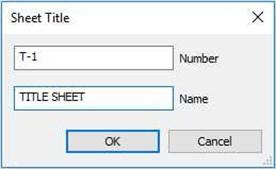
- Rename the sheet.
The sheet number will be T-1 and the name of the sheet is TITLE SHEET.
The title block will update.
New Sheet Tool
 New Sheet Dialog Box
 Sheet Renamed
- Add the text to the top of the sheet as shown. You will need to create family types for each text size. You may substitute other text in place of the text shown in the example. Use the following text sizes:
- 1 1/2″ Arial for the Instant Revit! text.
- 1″ Arial for the Residential Project Portfolio text.
- 1/2″ for your name and the date completed.
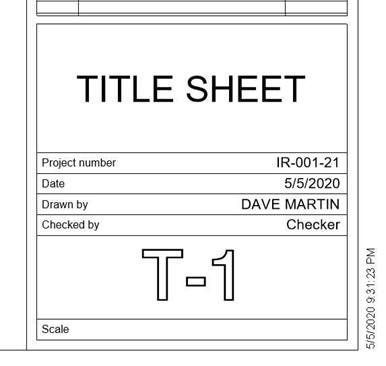
- At the bottom right corner of the sheet add the following information:
Project number: IR-001-21 Date: Date Completed Drawn by: YOUR NAME Checker: Name of person checking your drawing (if applicable).
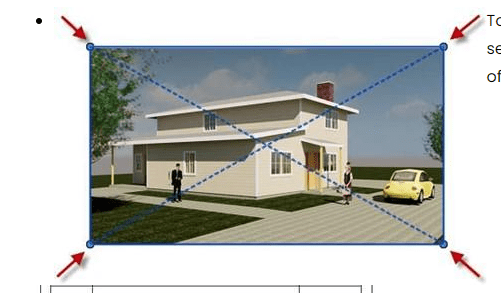
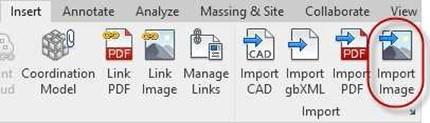
- Add renderings of the exterior and interior of the house as well as two other renderings.
Use the Insert tab, Import panel, Import Image tool.
 To change the size of the image, select the image and drag by one of the dots at each of the corners.
 Portion of Title Block Filled Out
Import Image Tool
Dots Used to Change Image Size
-
After you have created all the sheets, you will create a sheet index and add it to this sheet.
This will be done at the end of the Tutorial.
Note: You may notice that the detail bubbles and elevation markers are not filled out as you create the first few sheets. As you progress through these tutorials the bubbles will fill out automatically.
- This is the end of Part 1. Save your file as RL7-1.


