

Adding Lights to the Rooms
In this part you will add the lights to the rooms. These lights will not only provide the correct symbology but also aid in lighting the room when you create the interior renderings.
- Open the RL5-2 file. Save the file as RL5-3.
- Open the First Floor ceiling plan view.
- Load the “Troffer Light – 2×4 Parabolic” family.
The family is in the Lighting, Architectural, Internal folder.
- Click on the Component tool and select the Downlight – Recessed Can 8″ Incandescent – 120V light.
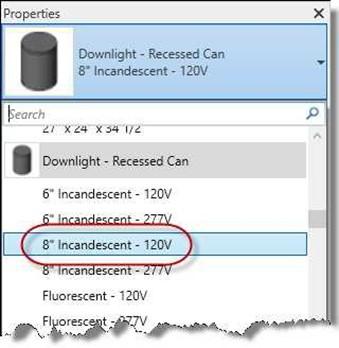
Recessed Can Light Selected
- Place the lights in each room as shown on the next page. Use the Dimension and Align tools to locate the lights. Use the Troffer Light – 2×4 Parabolic 2’x4′ (2 Lamp) – 120V type for the two Kitchen lights.
You wish to use reference planes to aid in locating the lights.
Note: Your dimensions may vary slightly. You may choose to turn off dimensions after lights have been placed.
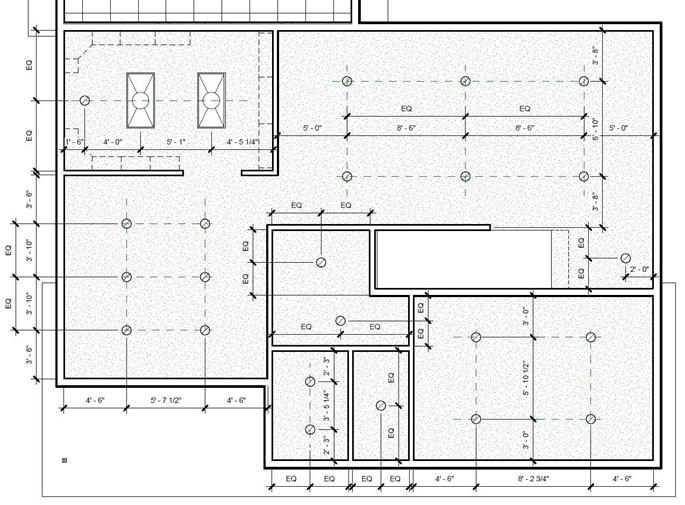
First Floor Light Placement
Note: To see the diagonal lines at each of the recessed lights, change the detail level of the view to Medium. The lines will not show if the detail level is set to Fine.
- Next you will place the lights in the Garage.
Use the same Troffer light as you used in the Kitchen.
 When placing the lights, align the light fixtures with the ceiling grid. There is no need to lock the alignment, the lights will move with the grid lines.
Garage Light Placement
- Lastly, you will place the lights on the second floor ceiling.
If you used reference planes on the first floor, they will be visible on the second floor as well. Hide the individual reference planes (not the category) before placing the planes on the second floor.
Use the drawing below to locate the lights.
Reference planes have been used to align and space the lights. You may leave the reference planes on since they will not plot to PDF.
You may choose to leave the dimensions on after the lights are placed.
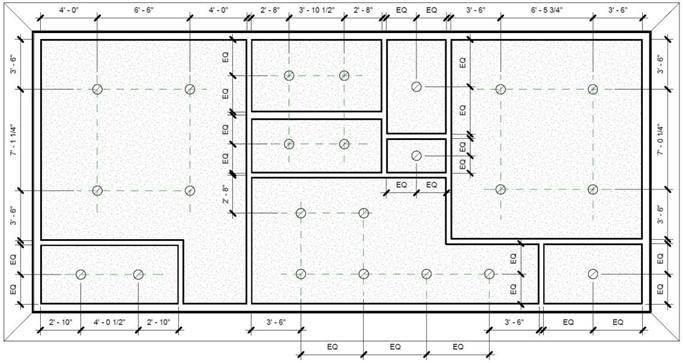
Second Floor Light Placement
- This is the end of Part 3. Save your file as RL5-3.


