
Insert the Drafting View into a Sheet
Now that you have finished the drafting view, the next thing is to add the drafting view to a sheet.
- Open the WU1-3 file. Save the file as WU1-4.
-
Click on the Sheet tool in the View tab, Sheet Composition panel.

Sheet Tool
-
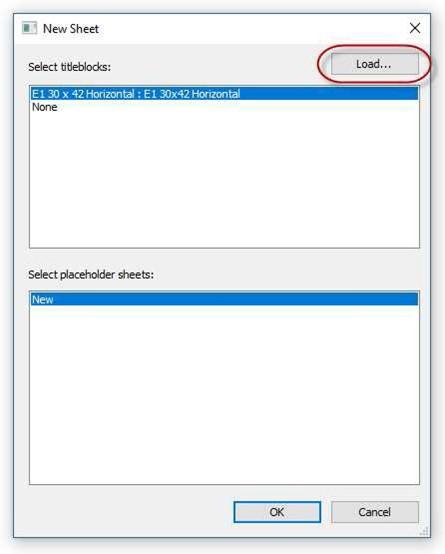
In the New Sheet dialog box, click on the Load… button.
New Sheet Dialog Box
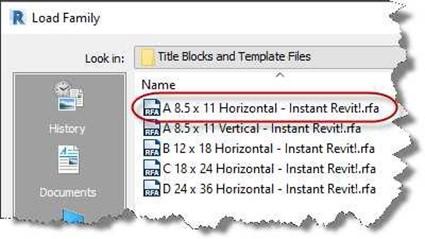
- For this next step you will need to access the title block file in the Families Folder that you downloaded from the Instant Revit website. If you haven’t done so already, see the instructions before the beginning of this tutorial to download the custom family files.
- Click on the Insert, Load Family tool.
- Find the Residential Families (2021) folder that you downloaded earlier.
- Within the Families folder, open the Title Blocks and Template Files folder.

Title Blocks Folder
- Select the file named “A 8.5 x 11 Horizontal – Instant Revit!.rfa”. (You may not see the .rfa extension.)
Load Family Dialog Box
- Click the Open Button and then the OK button to create the sheet and load the border.
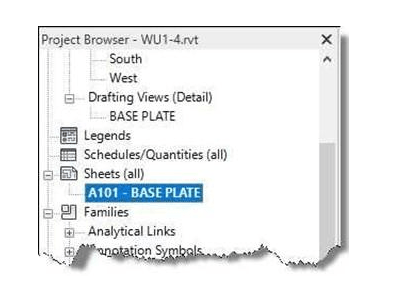
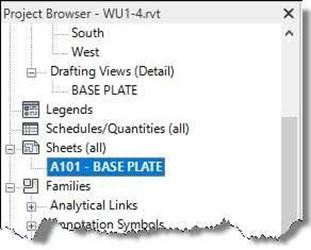
- Click the “+” next to the Sheets section.
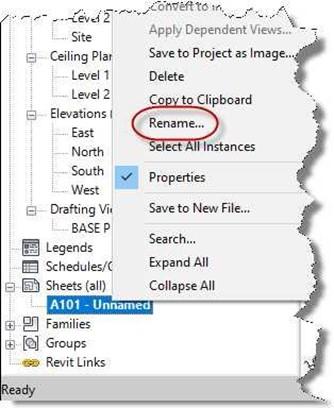
Right-click on the sheet name
and select Rename…
- Rename the sheet, SINGLE STORY HOUSE.
- Click and Hold on the view name in the Project Browser and drag into the Border.
Rename the Sheet

Sheet Title Dialog Box
Drafting View Name
- After dragging the view onto the sheet, you may need to shorten the line below the view name.
To shorten the line, click once on the view and drag the handle at the end of the line to the left.

View Title Handle
- The view is placed. You may need to adjust the location and the distance between the views so that it will fit in the border.
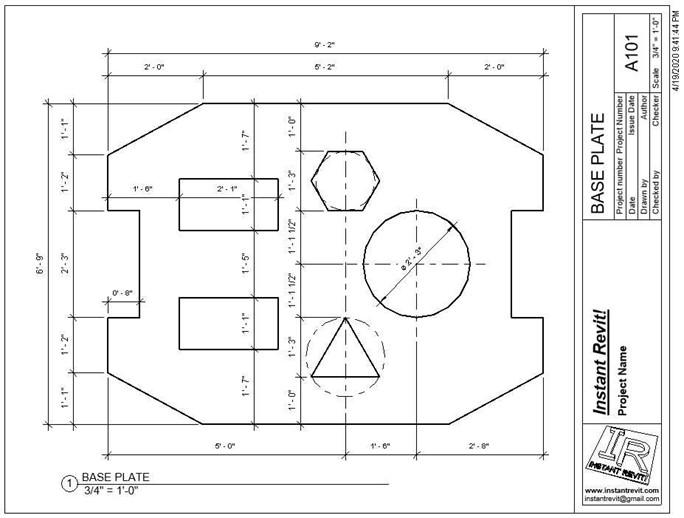
View Placed in Border
- Zoom in to the upper right corner of the border.
Click on the title block and then click in the fields for Drawn by, Date, and Project number and fill out as shown.
Also click on the text below Instant Revit! and change the project name to Warm- Up Exercises.
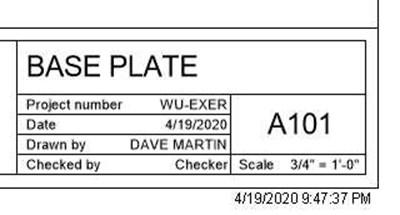
Title Block
- This is the end of Part 4. Save your file as WU1-4.


