
Adding the Inside Shapes
- Open the WU2-1 file. Save the file as WU2-2.
- Start by adding the bottom rectangular shape as shown.
Use the offset and trim tools to draw the first rectangle.

- Next you will copy the rectangle vertically.
Select the rectangle, then click on the Copy tool in the Modify panel.
Copy it vertically 2′-6″.
You can type in the distance as you copy.
Bottom Rectangle Location

Rectangle Copied

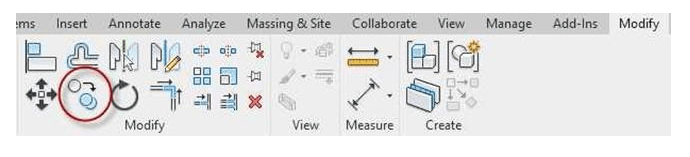
Copy Tool
- Next create the Triangle and the Hexagon.
You will use the Inscribed Polygon tool for the Triangle and the Circumscribed Polygon tool for the
 Hexagon.
Inscribed Polygon Tool
-
Draw the Triangle at a 10″
radius.
After clicking on the tool, set the correct number of sides.
Locate the Triangle as shown.
Note: You may wish to use reference planes to help locate the center. A circle has been added to help locate the triangle.
- Draw the Hexagon at a 7 1/2″ radius.
After clicking on the tool, set the correct number of sides.
Locate the Hexagon as shown.
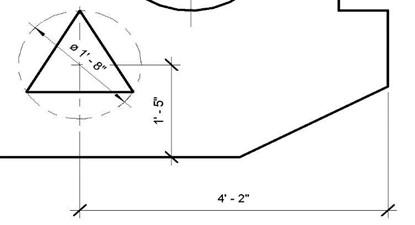
Triangle Location
- Draw the large circle as shown.

Hexagon Location
- The inside shapes are completed.
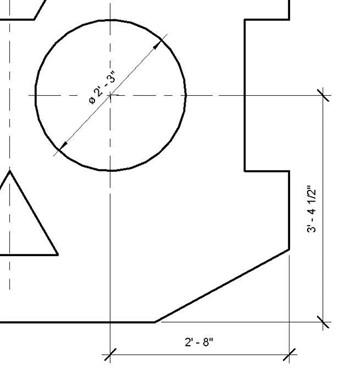
Large Circle Location
- This is the end of Part 2. Save your file as WU1-2.


