Creating the Topography for the Site
In this part of the tutorial you will add a collection of points that will create a mesh that will make up the topography from the site. When creating the topography for a site plan, sometimes this information will come from a contour map of the area or from a site survey provided by a licensed land surveyor.
- Open the RL4-1 file. Save the file as RL4-2.
-
While still in the Site Plan, set the cut plane of the view to
4′-0″.
Also set the Bottom of the view and the View Depth to -10′-0″.
This will expose the edges of the exterior walls and the door openings.
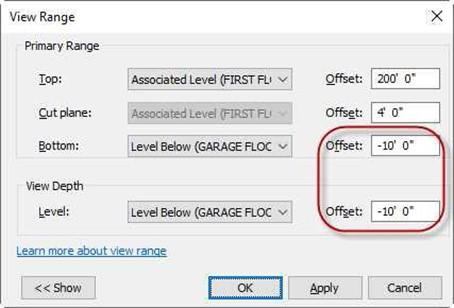
Cut Plane and View Depth Settings
- Click on the Toposurface tool in the Model Site panel.
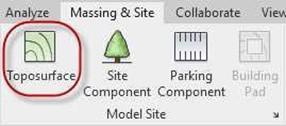
Topo surface Tool
- In the contextual tab, click on the Place Point tool.
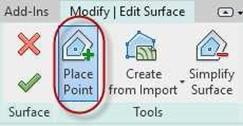
Place Point Tool
- In the Option Bar, set the height of the first point to -0′ 10″.
Change the height as needed based on the diagram.

Point Elevation Setting
- Place the points around the house as indicated.
Note: The text is for reference only and will not appear on the drawing.
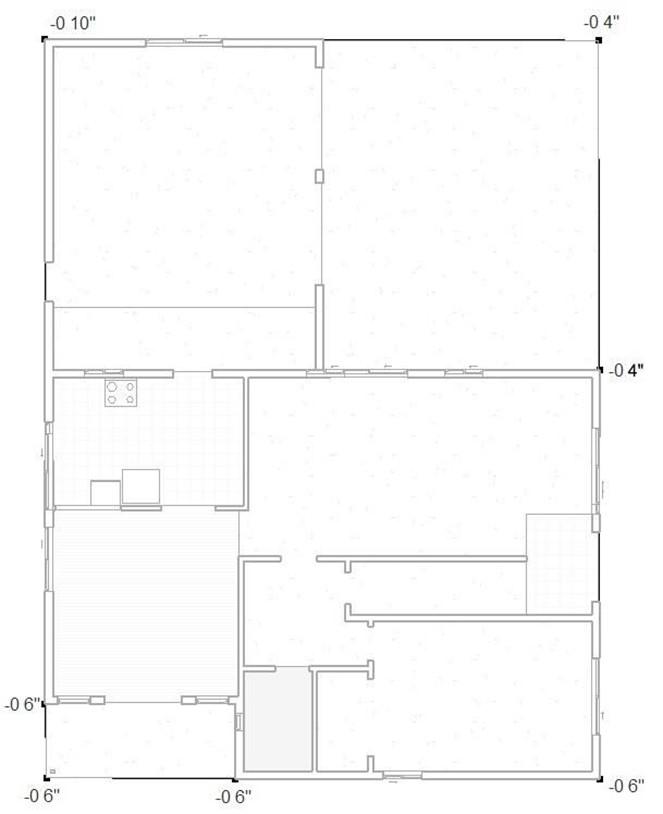
Points Around the Perimeter of the House
- Continuing with the Place Point tool, place additional points further away from the house.
They do not need to be at the same location as the example.
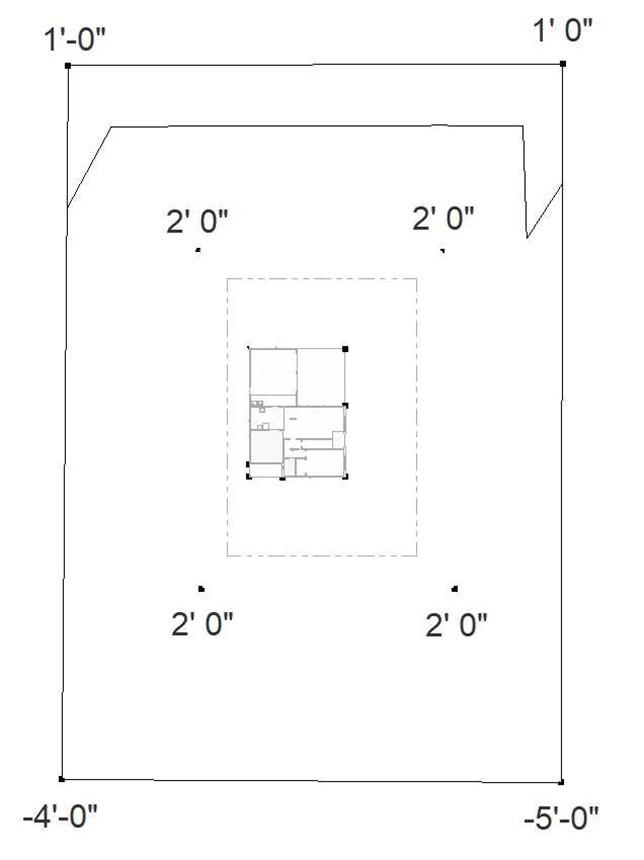
Location of Points for the Remainder of the Site
- Click the Green Check when finished.
- After adding the points, you may only see a portion of the contour lines.
Click on the small arrow in the Model Site panel top open the
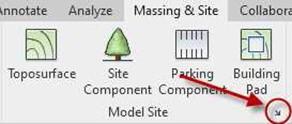 Site Settings dialog box.
Click Arrow to Open the Site Settings Dialog Box
- In the dialog box, set the start setting to -10′ 0″.
This will cause the contour lines that are below 0′-0″ to become visible.
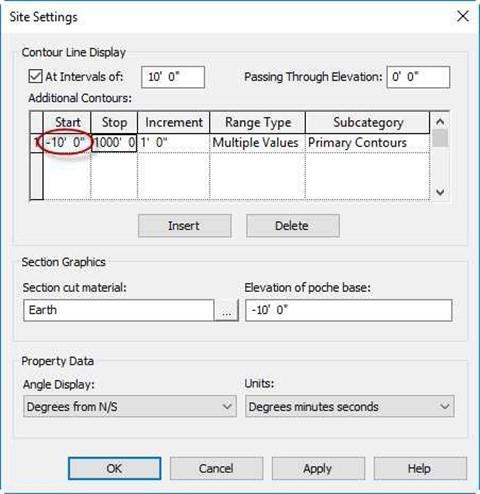
Site Settings Dialog Box
- Switch to the 3D view.
Changing the Material of the Topography
By default, the material for the topography is set to Earth. You will change it to Grass.
- Zoom out to see the edge of the topography.
Click the edge, and then click on
<By Category> text next to Material in the Properties box.
Note: Your square footage will be different.
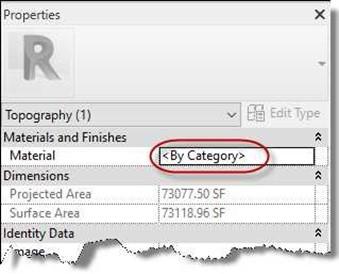
Material Setting for Topography
- Click on the small box that appears next to <By Category>.
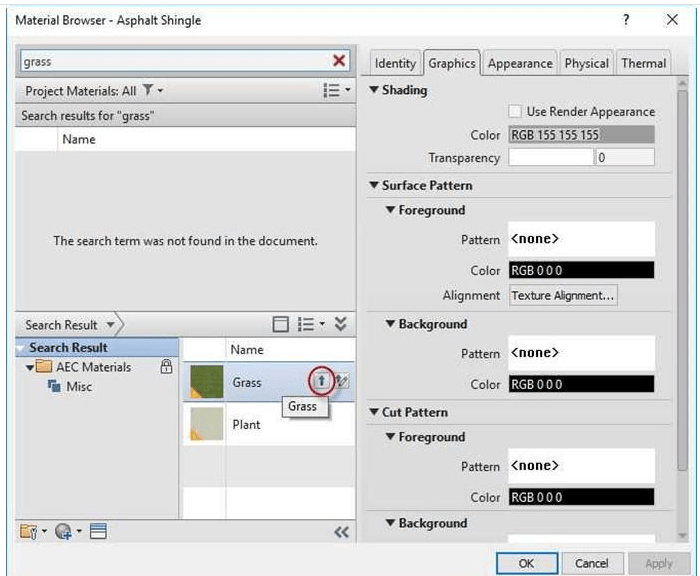
- In the Search Window type in Grass.
- At the bottom, click on the Grass material in the AEC Materials folder and then click on the box with the Up Arrow.
This will add the material to your project.
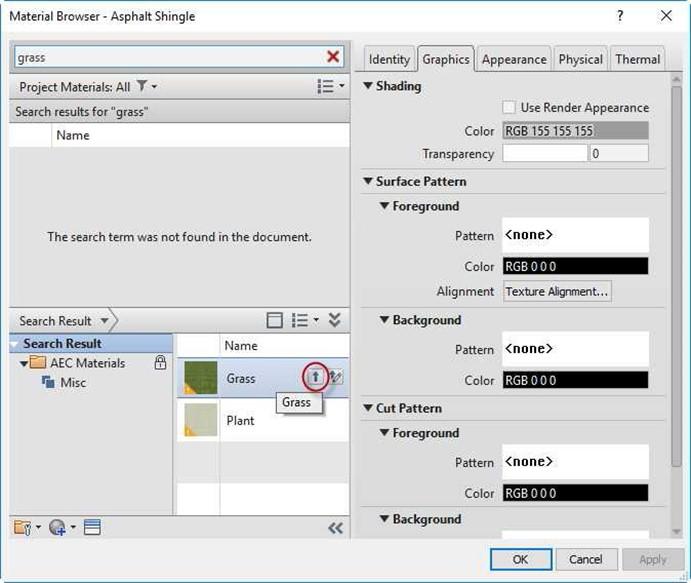
Grass Material
- Click on the Graphics tab and check the “Use Render Appearance” checkbox.
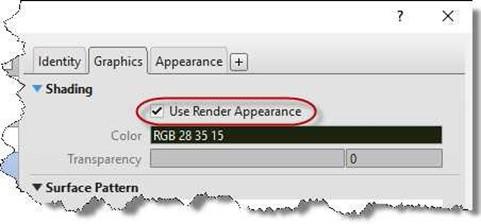
Use Render Appearance Checkbox
- The Topography will now be green in color.
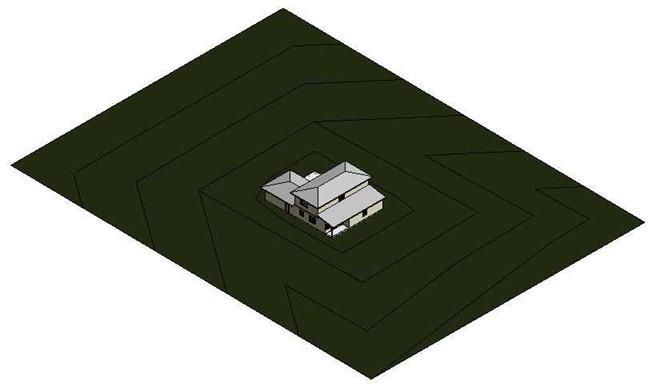
Topography with Grass Material Applied
This is the end of Part 2. Save your file as RL4-2.


