Adding the Garage Platform, Appliances, and Fixtures
Before you can add the garage appliances and fixtures, you will need to create a concrete platform.
- Open the RL2-4 file. Save the file as RL2-5.
- Go to the First Floor View and zoom in on the south end of the garage.
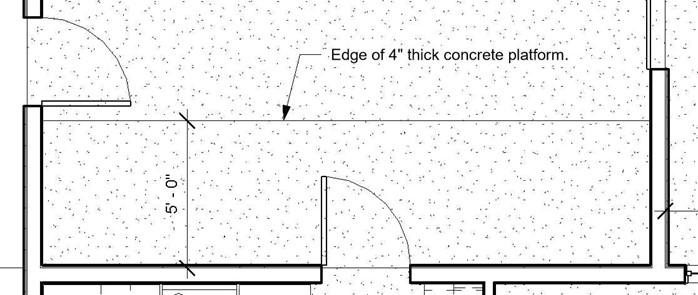
Location of Concrete Platform
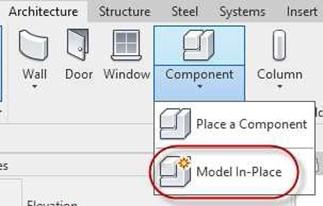 Go to the Component tool.
Click on the arrow and select Model In-Place.
The Model In-Place option is used to create simple models while in the Revit program.
Model In-Place Tool
- In the Family Category and Parameters dialog box, select Floors.
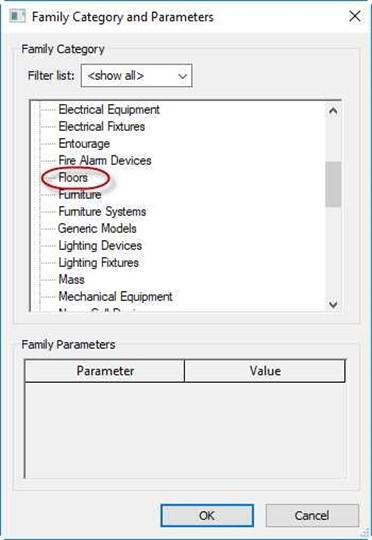
Family Category and Parameters Dialog Box
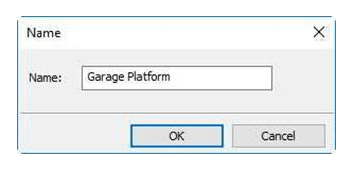
- Name the family, Garage Platform.
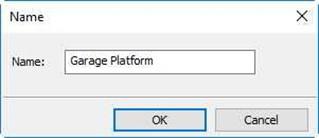
Name Dialog Box
- The drawing will turn gray.
Click on the Extrusion tool in the Forms panel.

Extrusion Tool
- Draw the rectangular shape for the platform. The edges are to the core boundary of the three walls.

Sketch Boundary for the Platform
- In the Properties box, set the Extrusion End to 0′-0″, Extrusion Start to -0′-4″, and the material to Concrete Cast-in-Place gray.
Change the color of the material to light gray (RGB 192 192 192).
This will create a 4″ thick concrete
platform on top of the garage slab.
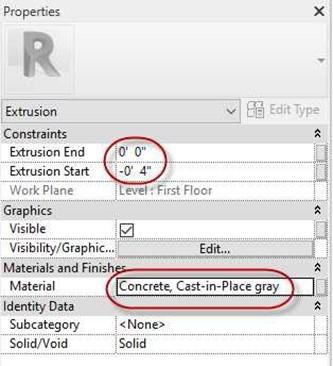
Properties Settings
- Click the Green Check to finish the model.
Note: To edit the boundary of the slab, double-click on the slab and then the Edit Extrusion tool.
 Properties Settings
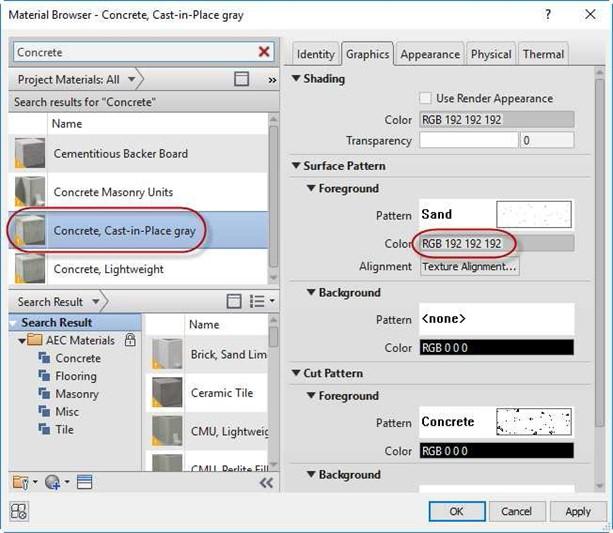
Concrete, Cast-in-Place Gray Material Set to Gray
- Click the Green Check.
Click the Green Check in the In-Place Editor panel.
Note: Creating a 3D section view will be covered later in the book
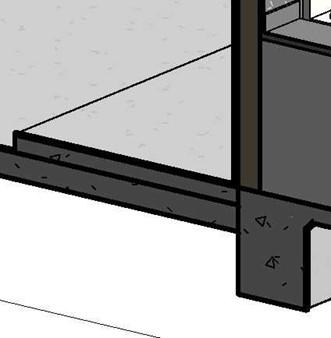
3D Section of Platform
- Now you will add the garage appliances and fixtures. Approximate the locations.
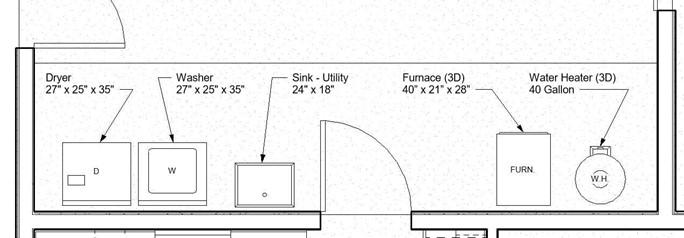
Garage Appliance and Fixture Locations
|
Appliance/Sink Name |
Where Located |
|
Dryer 27″ x 25″ x 35″ |
Included with template. |
|
Washer 27″ x 25″ x 35″ |
Included with template. |
|
Sink – Utility 24″x18″ |
Load from Plumbing, MEP, Fixtures, Sinks folder. |
|
Furnace(3D) 40″ x 21″ x 28″ |
Custom family, load from Fixtures folder on website. |
|
Water Heater (3D) 40 Gallon |
Custom family, load from Fixtures folder on website. |
- This is the end of Part 5. Save your file as RL2-5.


