Cabinetry, Appliances, and Bathroom Fixtures
Starting the Tutorial
- Start Revit 2021 by clicking on the icon on the desktop.
- Open the last file from Tutorial One, RL1-10.
- Save the file as RL2-1.
At this point in the project you have completed the building shell, interior walls, and floor slabs. This tutorial consists of adding fixtures, cabinetry, and changing the floor materials of the kitchen, bathrooms, and family room. You will also create detailed views (known as callouts) of some of the rooms.
Setting up the Kitchen Interior Elevations
This part will involve adding the cabinetry, appliances, and fixtures to the kitchen and garage. You will also create a custom countertop and modify the profile of a wall.
- Open the First Floor view.
-
Zoom in on the kitchen area.
- Before beginning to add the cabinetry and the appliances, this is a good time to set up interior elevations of the kitchen.
This way you will be able to see the elevation view of the cabinetry for each wall.
- Click on the Elevation tool in the View tab, Create panel.

Elevation Tool
- Select Interior Elevation in the Properties box.
- Click in the center of the Kitchen.
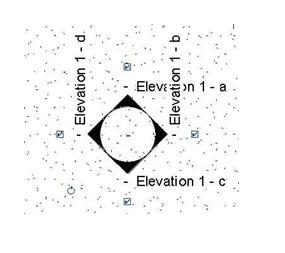
The Elevation symbol will appear in the middle of the room.
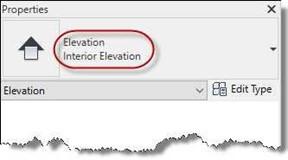
Properties Box Showing Elevation Type
- Select the symbol on the edge of the circle and click on each of the four boxes surrounding it.
All four boxes will be checked.
Note: The bubble and arrows will be filled out when the elevation views are placed on a drawing sheet.
- By default, the names of the views are shown.
To turn these off go to the Manage tab and select Additional Settings, Elevation Tags.
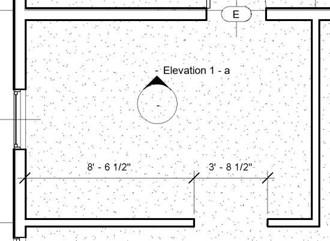
Elevation Marker
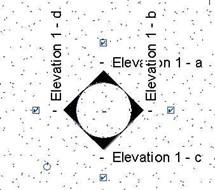
Checkboxes Checked
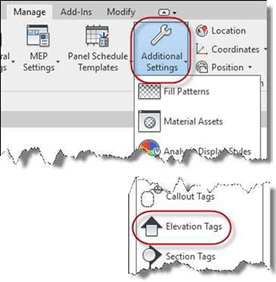
Additional Settings, Elevation Tags
- In the Type Properties dialog box, change the type to 1/2″ Circle and the Elevation Mark value to “Elevation Mark Body Circle : Filled Arrow”.
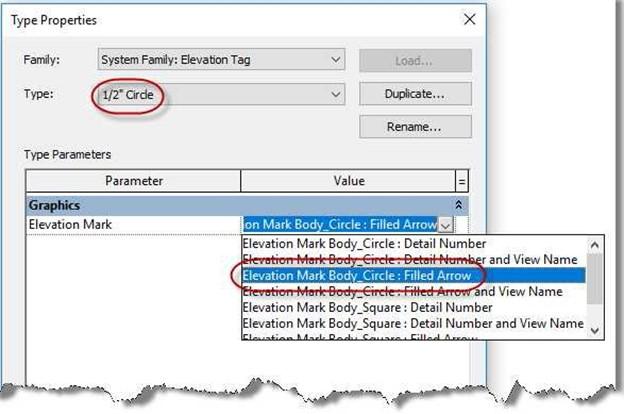
Elevation Tags Settings
- To view an interior elevation, double-click on the black arrow.
You may now begin adding the cabinetry.
-
You may also rename the interior elevations based on the wall location within the kitchen.
Use the following names for the kitchen elevations: KITCHEN – NORTH
KITCHEN – SOUTH
KITCHEN – EAST KITCHEN – WEST
Note: Completed versions of the kitchen interior elevations are shown at the end of RL2-2.
- This is the end of Part 1. Save your file as RL2-1.


