
Modifying the Door and Window Tag Families,
Tagging the Doors and Windows
The tags that come with the template file will need some modification. You will first add a masking region to the window tag. You will do the same to the door tag as well as change the numbering system.
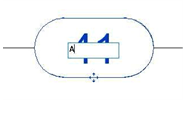 Open the RL1-6 file. Save the file as RL1-7.
- Open the First Floor view.
- In the Project Browser, go to the Families category at the bottom of the tree.
Click the “+” symbol to expand the tree if needed.
- Click the “+” next to the Annotation Symbols category.
- Go down until you find the Door Tag Family.
Right-click on the name and select Edit.
If you have doors on your drawing, you can also right-click on one of them select Edit Family.
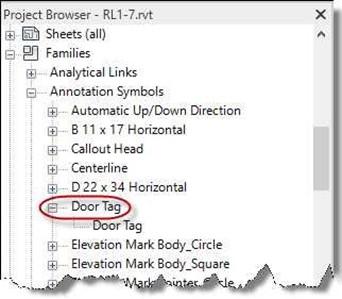
Door Tag Family
- The Door Tag.rfa family file opens.
- You will make two changes to the file: add a masking region and change the label of the tag.
First, pick on the Masking Region tool in the Create tab, Detail panel.
Note: The Masking Region tool will create an area on the symbol that will mask out any elements that are behind the area. In this case, the extension/witness line will be masked out.

Masking Region Tool
- The symbol will turn gray.
Using the Pick Lines tool, select the two arcs and two lines around the outside edge.
- Click the Green Check.
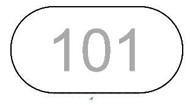
Lines Selected
- Next, click on the 101 text in the middle of the symbol.
-
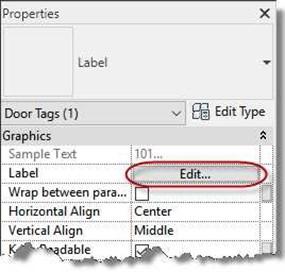 Click the Edit… button next to Label in
the Properties Box.
Edit… Button
- The Edit Label dialog opens.
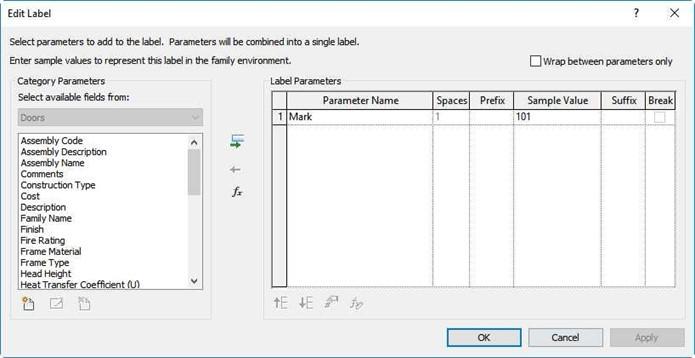
Edit Label Dialog
- Click on the Mark parameter name and then click on the red arrow that appeared.
This will remove the Mark parameter from the family.
- Select the Type Mark Category Parameter from the list on the left.
- Click the Green Arrow to replace the Parameter.
-
Click OK to close the box and update the family. You should now see “1t” as
the text instead of 101.
Now the door symbol with show the value based on the type of door instead of assigning each door a unique number.
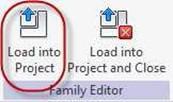 Click the Load into Project button in the Family Editor panel.
After loading the family, you may wish to save the file.
Load into Project Button
- Select Overwrite the existing version.
- Click on the Tag All tool in the Annotate ribbon, Tag panel.
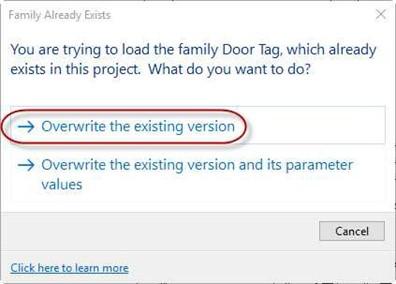
Family Already Exists Dialog

Tag All Tool
- Select the Door Tags category.
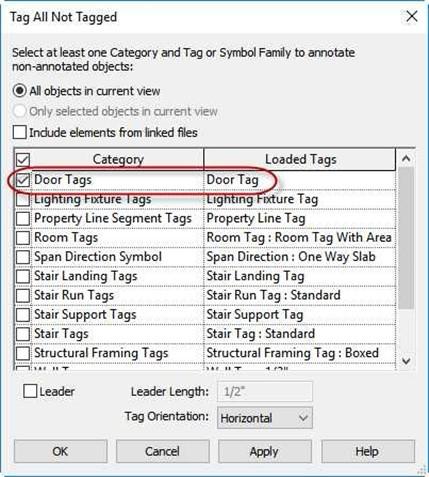
Tag All Not Tagged Dialog Box
- Click the OK button. The box will close and all the doors are now tagged.
- Next you will change the tags to match the version in the portfolio.
Select one of the door tags and then click on the number inside the bubble. Change the text to the correct letter.
- When changing the tag letters and number, you will see this alert box.
This lets you know that when you change the tag letter, other tags that represent the same door will also change.
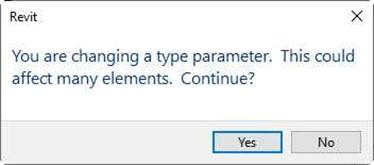
Alert Box
- Adjust the location of the door tags so that they are halfway from the exterior face of the wall and the first dimension line.
Refer to the Residential Portfolio – Sheet A-2 – First Floor Plan for the location of the tags and the letter/number values.
-
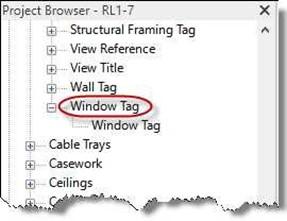
Open the window tag family and create the masking region around the edge of the hexagon.
You will not need to change the Label Parameter.
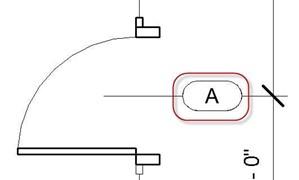
Locate Tags Halfway
Window Tag Family
- Once you have added the door and window tags to the First Floor, repeat the process for the Second Floor.
Refer to the Residential Portfolio – Sheet A-3 – Second Floor Plan for the location of the tags and the letter/number values.
- This is the end of Part 7. Save your file as RL1-7.


