
Using the Write Block tool
Using the Write Block tool, you can create a drawing file from a block or objects. You can later insert
this drawing file as a block into another drawing. The procedure to create a drawing file using blocks
is discussed in the following example.
Example:
Start a new drawing file and create two blocks, as shown below.

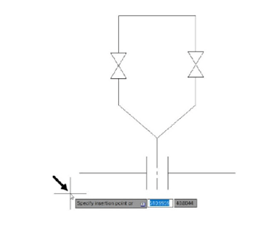
Insert the blocks and create the drawing as shown below.

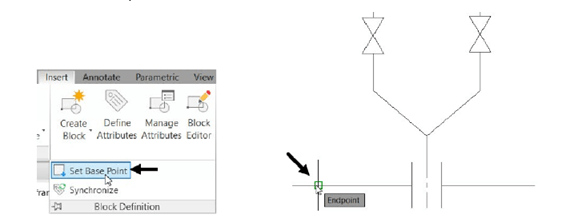
Expand the Block Definition panel and select the Set Base Point button.
Select the endpoint of the lower horizontal line as shown.
Click Insert > Block Definition > Write Block on the ribbon; the Write Block dialog box appears.
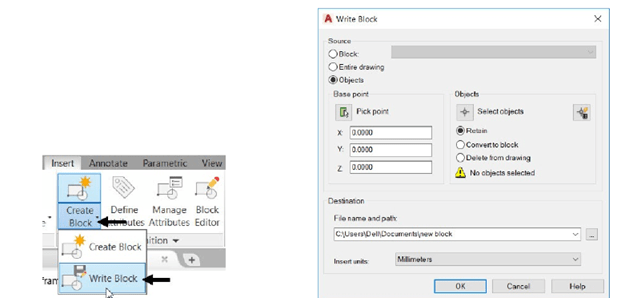
In the Write Block dialog box, you can select three different types of sources (Block, Entire drawing,
or Objects) to create a block. If you select the Block option, you can select blocks present in the
drawing from the drop- down.
Select the Entire drawing option.
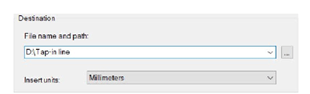
Specify the location of the file and name it as Tap-in line.
Click the OK button.
Close the drawing file.
Open a new drawing file, and then type I in the command line and press ENTER; the Insert
dialog box appears.
Select Tap-in line from the Name drop-down and click OK.
Pick a point in the drawing window to insert the block.


