
Dictation enhancements within Word
Dictation has been deployed on the desktop, iPad, and web versions of Office 2021. One thing you need to ensure is that you are signed into either your Microsoft account or Office 365 account. The icon (button) is located on the Home tab of the Word ribbon:
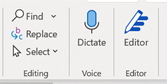
Figure 2.8 – The Dictate feature on the Home tab of the Word ribbon
Now that you know where to locate the Dictate feature, let’s learn how to record our voice. We will look at various commands you can use when dictating and then explore the Transcribe feature.
Activating Dictate
Before you record within Word, make sure that you have a new blank document open or have positioned your cursor over the existing document. The dictation will start at the cursor’s position in the document:
- Click the Dictate icon that’s located in the Voice group of the Home tab.
- A dialog box will appear on the document’s window (as shown in the following screenshot). Move the dialog box by dragging it with your cursor to relocate it to the Word environment:
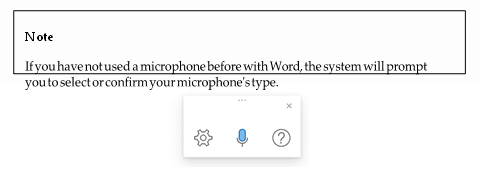
Figure 2.9 – The Dictate dialog box shows the Settings, Start Recording, and Help buttons
- Click the Dictate button to start recording your voice.
- To stop recording, click the Dictate button once more.
When dictation is active, the recording button will be shown on the Microsoft Word browser tab. In the following screenshot, you can see Microsoft Edge on a Windows 11 operating system. While recording is active, a red dot (with a red circle line) appears on the tab:
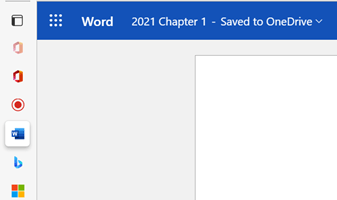
Figure 2.10 – Dictation showing as active in the Windows 11 Microsoft Edge browser
Now that we know how to start and stop our recording, let’s look at the settings and commands we can use when dictating within Word.
Setting options when recording
Before recording, we may need to check that everything is working correctly in terms of the microphone settings and set any language options we may need to customize. Let’s get started:
- Click the Dictation Settings button on the dictation dialog box.
- Use the Spoken language drop-down list to choose the language for speech-to-text. Language types are added often in this area:
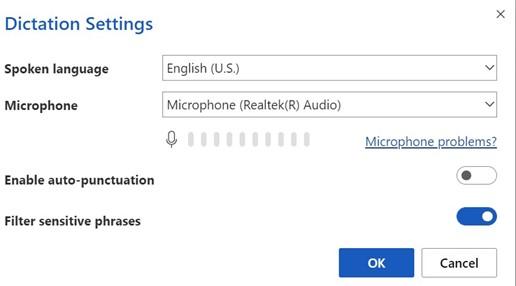
Figure 2.11 – The Dictation Settings dialog box displaying Microphone and other language settings
- In this dialog box, we can also alter the Microphone settings and Enable auto- punctuation. This feature is great as it will automatically work out where it should punctuate by adding full stops, commas, and question marks (for example).
When we dictate, we must be able to control and speed up the recording process. There are various built-in voice actions that we can use to command the dictation process. Let’s look at some of these commands.


