
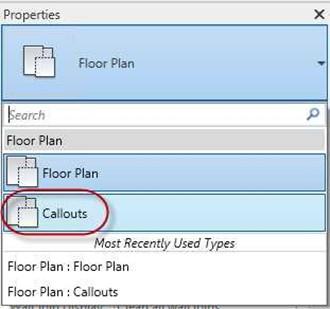
Creating the Floor Plan Callouts of the Kitchen and Bathrooms
and Setting Up the Kitchen Floor Surface Material
In this tutorial you will create detailed views of different rooms known as Callouts. You will also setup the floor surface material for the kitchen.
- Open the RL2-7 file. Save the file as RL2-8.
- Open the First Floor view. Zoom in to the kitchen area.
- Go to the Callout tool in the View tab, Create panel.
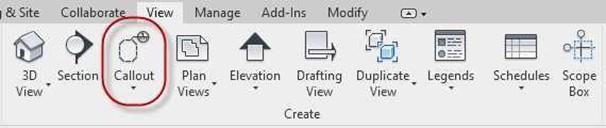
Callout Tool
- Click above and to the left of the kitchen area and then drag the mouse down and to the right.
Create the shape as shown.
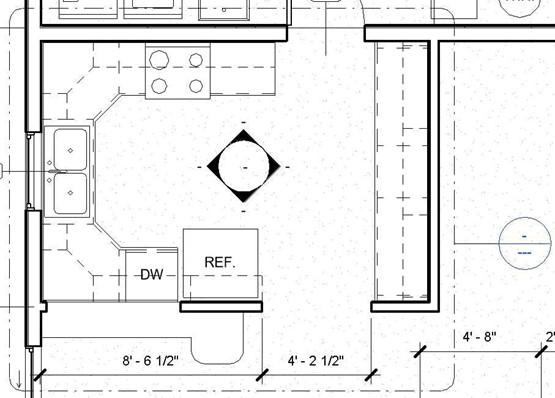
Kitchen Callout Boundary
- Click on the bubble and drag using the handles to locate it at the top left of the boundary.
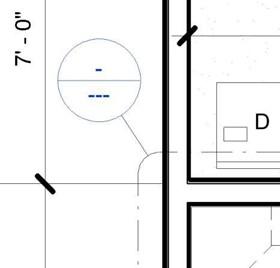
New Callout Bubble Location
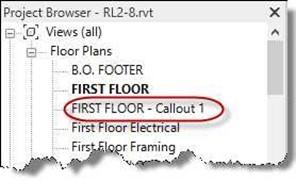 A new view is created in the Floor Plans category called First Floor – Callout 1.
Double-click on the view name to open the view.
New View Created
- The reason for a callout view is to show a portion of a plan view, elevation, and section at a larger scale. These callout views will be added to a sheet at the end of the project.
Use 1/2″ = 1′-0″ for the scale of the view. Add the notes and dimensions to the view as shown.
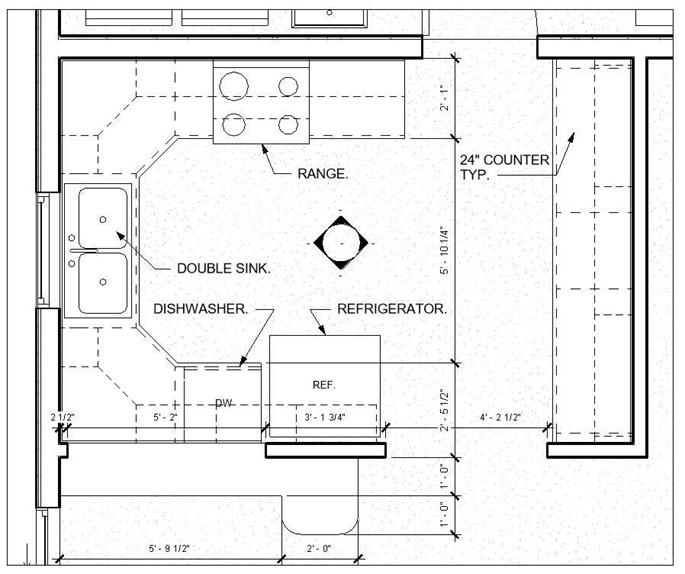
Annotated Callout View of the Kitchen
- Create a callout view of the first floor bathroom and second floor bathroom/lavatory.
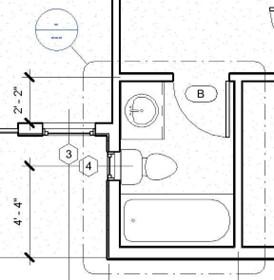
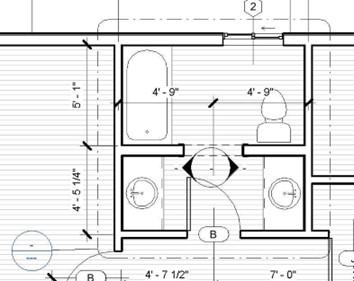
First Floor Restroom Callout Second Floor Restroom/Lavatory Callout
Organizing the Views
To organize the views, you will create a new view type called Callouts. Any time you wish to organize a group of views into their own type you may follow this procedure.
- Open the FIRST FLOOR – Callout 1 floor plan view.
- Click on the Edit Type button at the top of the Properties window.
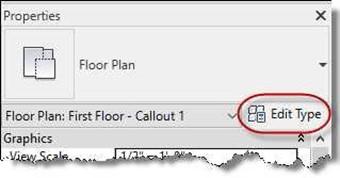
Type Properties for the Floor Plan System Family
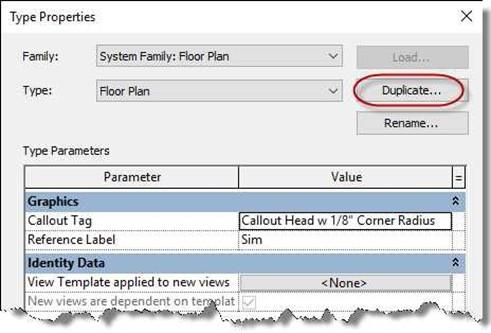
- The Type Properties for the Floor Plan System Family opens.
Click the Duplicate button to create a new view type.
Edit Type Button
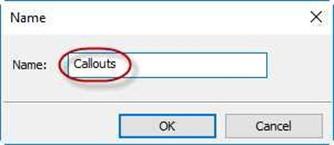 Name the new view type, Callouts.
Click the OK button to close the dialog box.
Click OK again to create the view
type.
Name Dialog Box
- The FIRST FLOOR – Callout 1 view is moved to the new view type.
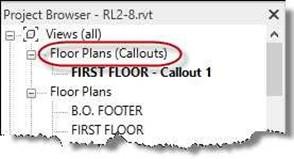
New View Type – Floor Plans (Callouts)
-
Open the FIRST FLOOR – Callout 2 view and change the type selector to the new view type.
You can also select the view and change the type to Callout without opening the view.
Callouts View Type Selected
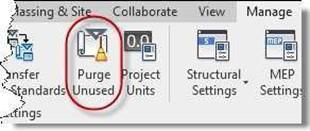
- To delete an unused view type, use the Purge Unused tool in the Manage tab, Settings panel.
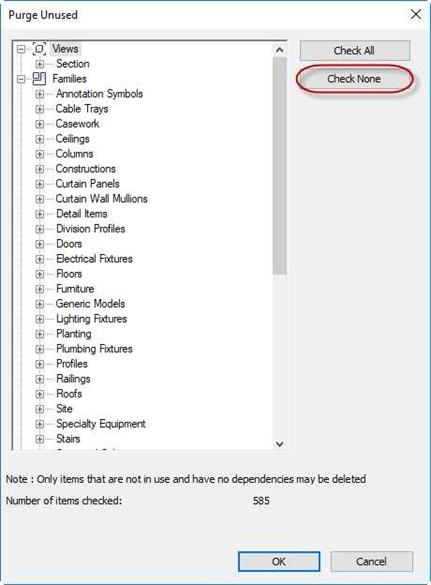
Note: Only view types that are not being used will show in the list.
Make sure that you click the Check None button before purging to avoid removing elements that you might need later.
The number of Checked Items will appear at the bottom of the dialog box.
Purge Unused Tool
Purge Unused Dialog Box and Check None Button
Setting Up the Floor Surface Material for the Kitchen
- Switch to the First Floor view and zoom in on the kitchen.
These next steps will have you set up the material for the kitchen floor.
- Click on the Materials tool in the Manage tab, Settings panel.
- In the Autodesk Materials folder, find the material called Tile, Quarry.
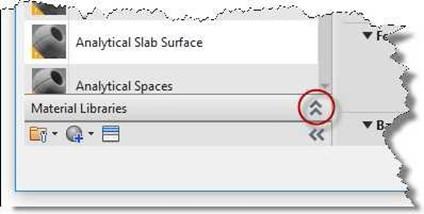
If the Library panel is closed, click on the “Show/Hides library panel” tool to
open it.
Select the material and click on the up arrow to the right of the material name to load the material into the drawing file.
Show/Hide Library Panel
Note: Occasionally the Autodesk material folder will not load properly. If this happens, usually a restart of the Revit software will solve the problem.
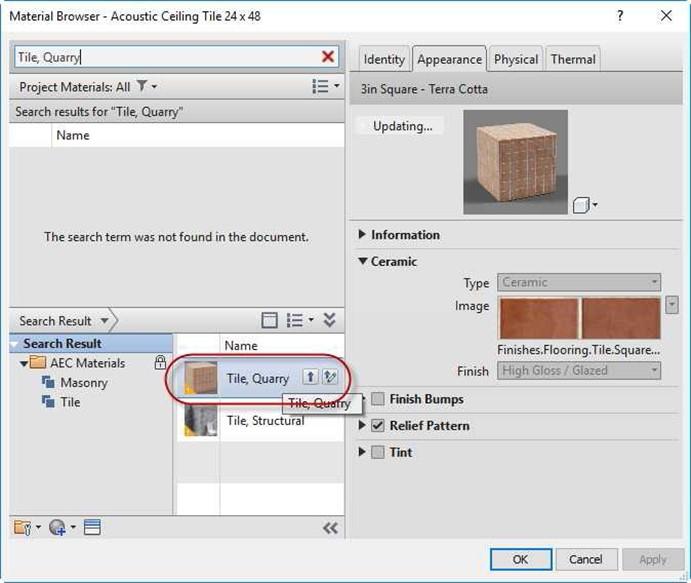
Material Browser Dialog Box
- The material is now loaded into your project.
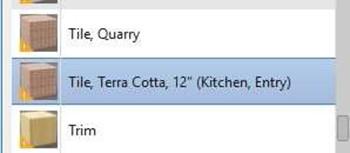
Right-click on the new material and create a duplicate material.
- The new material is now created and loaded into your project.
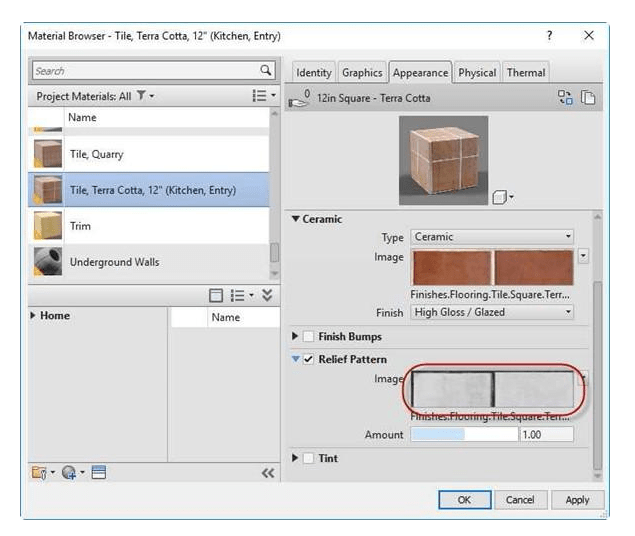
Right-click on the new material and rename it Tile, Terra Cotta, 12″ (Kitchen, Entry).
- With the material selected, click on the Graphics tab at the top.
-
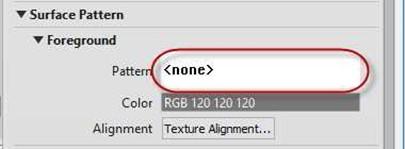
On the right, click on the box called Pattern to set the surface pattern.
Pattern Box

Material Duplicated and Renamed
Material Renamed
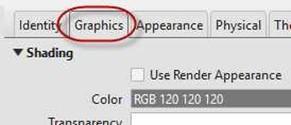
Graphics Tab
- In the Fill Patterns dialog box, click on the Model button at the bottom and select the 12″ Tile Pattern.
Also, set the color of the material to light gray.
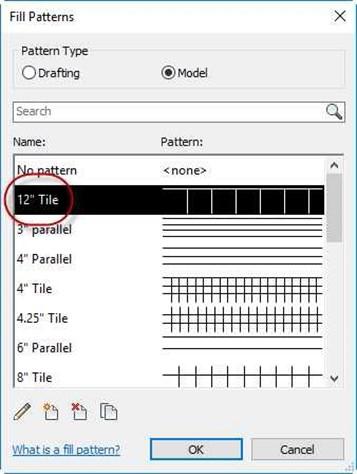
Fill Patterns Dialog Box
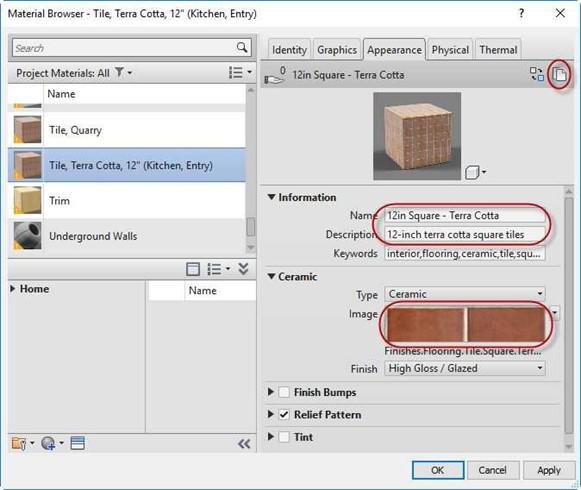
- Click on the Appearance tab at the top right of the dialog box.
Click on the image of the tile in the Ceramic section.
- Before changing the material, you will create a new asset for the 12″ tile.
Click on the “Duplicates this asset” icon at the top right corner of the dialog
box.
In the Information area, name the new asset, 12in Square – Terra Cotta and change the description as shown below.
Note: The new asset will allow you to update the new material without changing the original material.
Material Browser Dialog Box
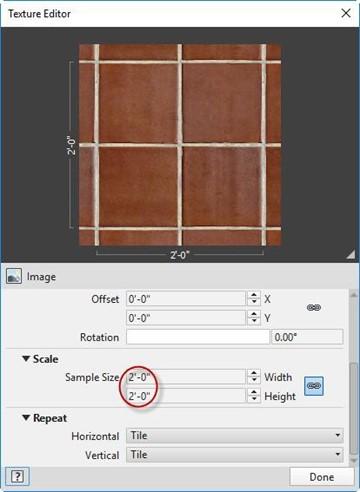
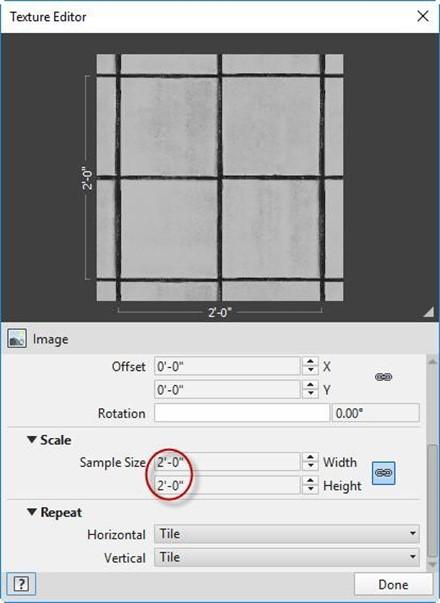
- To change the size of the tiles, click on the material image in the Ceramic area.
- The tile pattern is too small.
Change the Sample Size from 0′- 6″ to 2′-0″.
This will give you 12″ tiles when
the view is rendered.
Click the Done button when finished.
Texture Changed
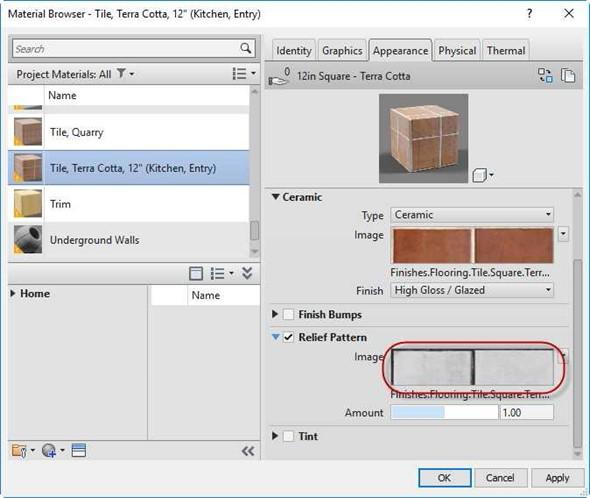
- You then need to change the Relief Pattern.
This will match the depressions for the grout between the tiles to the size of the tile squares.
Click on the arrow next to the checkbox to expand the area.
Material Browser Dialog Box
- Click on the image of the Relief Pattern.
Scroll down to the Scale setting.
Change the sample size
from 0′-6″ to 2′-0″.
The lock will ensure that the two values are the same.
Relief Pattern Changed
- Now the Relief and Texture sizes match.
- Click the OK button in the Material Browser dialog box to save the material.
This is the end of Part 8. Save your fil


