
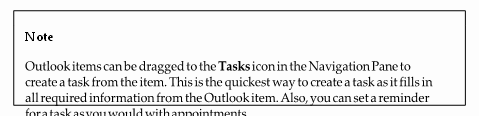
Creating and managing tasks
In this section, you’ll learn how to create and manage a task so that you receive a reminder of items you need to complete by a certain date and a status report. Additionally, we will cover how to mark tasks as complete and assign a task to another Outlook user. Accepting and declining task assignments will also be covered in this section.
Creating tasks
- Click on the Tasks icon at the bottom of the Navigation Pane:
Figure 15.31 – The Tasks button on the navigation bar
- In the task window, you will see any follow-up messages you have received, along with any outstanding tasks or to-do list items.
- Click on the Home tab and then select the New Task icon:
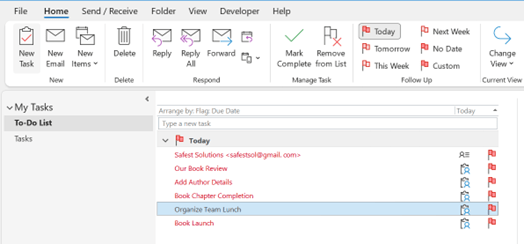
Figure 15.32 – The New Task button on the Home tab
- Fill out the details of the task:
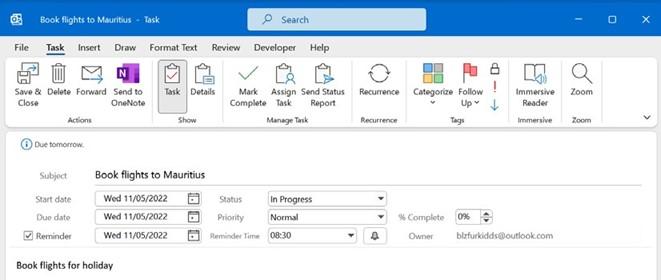
Figure 15.33 – A new task pane
- Click on the Save & Close icon.
Managing the task details
- Open a task to view its contents. Take a look at the Task and Details options in the Show group of the Task tab. This area is used to enter any secondary information about the task or to update the task.
- Click on the Save & Close icon to update and close the task.
Sending a status report
Sending an email to someone to let them know how far you have got with a task is really simple. Perform the following steps:
- Open the task, then select the Task tab.
- Click on the Send Status Report option in the Manage Task group:
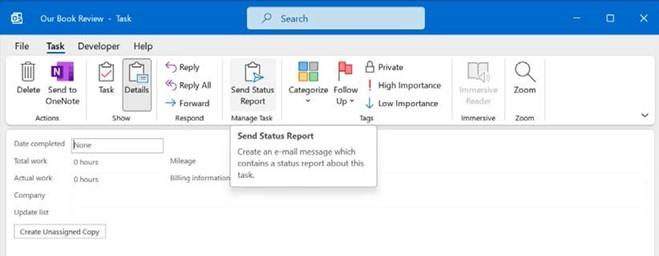
Figure 15.34 – Send Status Report
- A new email is created with Task Status Report: Our Book Review as the subject (in this case, Our Book Review is the name of the task).
- In the body of the message, the task details are listed, indicating the percentage of completion. Note that the % Complete option will not work unless you diligently update the task as you work on it. Enter a recipient into the To… text area. Click on Send.
Now, let’s look at how we would assign a task to others.
Assigning a task to another Outlook contact
It is really easy to assign tasks to others within the business or another contact within your Outlook address book. Perform the following steps:
- Create a task to assign to a colleague.
- Click on the Assign Task icon under the Manage Task group, which is located on the Task tab:
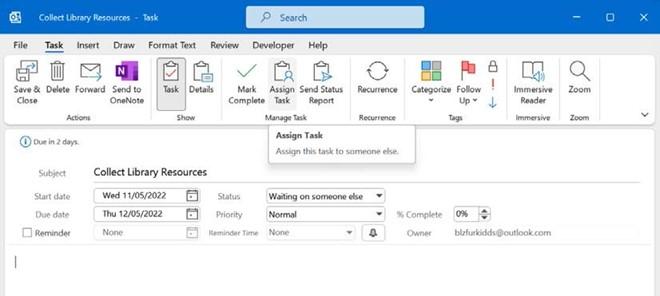
Figure 15.35 – The Assign Task option
- In the To… text area, type in an address to send the task to or click to populate the address book to select a contact. Make sure the task details have been filled in correctly. Click on Send.
Marking a task as complete
- Open the task that you want to update.
- Under the Task tab, locate the Mark Complete icon and click on it. Alternatively, select the task in the Tasks pane and then click on the Mark Complete icon:
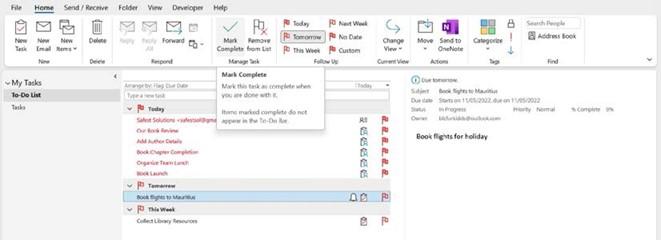
Figure 15.36 – Marking a task as complete
-
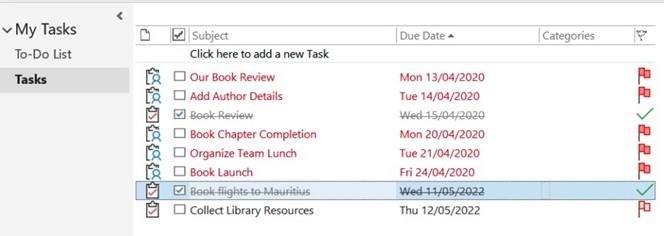
The task is marked as complete with strikethrough lines in the Tasks pane and a
green tick in the flagged section of the view on the right-hand side:
Figure 15.37 – The Tasks pane showing a strikethrough in the completed task with a green tick
-
Note that the task was automatically moved from the To-Do List pane to the Tasks
pane when marked as complete.
Accepting or declining a task assignment
When we assign tasks to other users, they can decide to accept or reject the task. Let’s run through the steps:
- In your inbox, open a task that you have received.
- Click Accept or Decline using the icons under the Respond ribbon. Now we will take a look at notes and journal entries.


