

Inserting captions
If you need to add captions to videos within PowerPoint, you can use the Playback | Insert Captions command to locate the relevant captions file on the local computer. Often, we would create these video text descriptions within a video application, such as Camtasia or Captivate, prior to inserting the video content elsewhere. If your video has no sound or you would like to add text to the video, then this option is perfect!
Creating the closed caption file
As mentioned earlier, captions are usually added when the video is compiled, but if not, we can use Notepad on our computer to create a caption file. To learn how to create a caption file, please refer to https://support.microsoft.com/en-us/office/ create-closed-captions-for-a-video-b1cfb30f-5b00-4435-beeb-
2a25e115024b. Once complete, your caption file will look similar to the following screenshot:
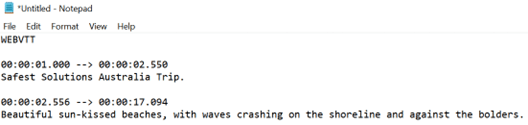
Figure 6.44 – A closed captions Notepad file
Ensure that the Notepad file is saved using the . vtt closed captions file extension. Add the .en before the file extension to indicate that the file is an English closed caption file:
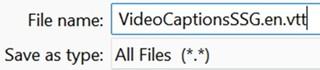
Figure 6.45 – The file-naming convention for caption files in Notepad
Once this is complete, you will need to add the .vtt file to the video.
Inserting the closed caption file
Insert the caption file (VideoCaptionsSSG.en.vtt) by visiting Playback | Insert Captions:
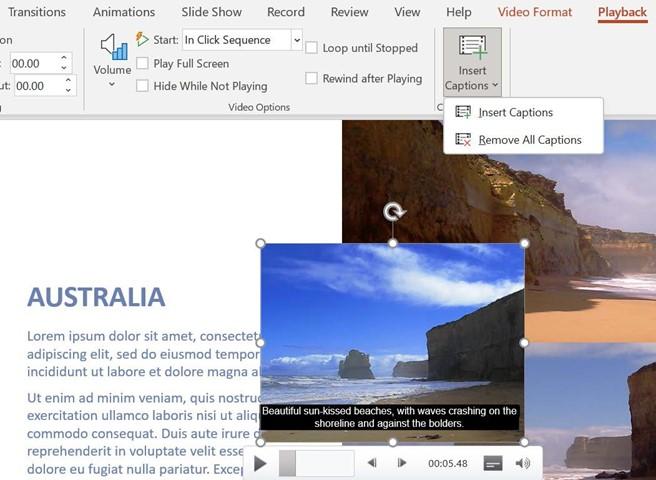
Figure 6.46 – The Insert Captions option to add closed captions to the video, as seen in the timeline
Once the captions have been inserted, they will become part of the video timeline.
Lastly, let’s look at the export options for videos. This feature was introduced in Office 2019, and the only difference in Office 2021 is that the tab name has changed from Recording to Record.
You can record video, audio, and inking within a slide presentation, then export the video at 4K resolution, all available from the Record tab, as illustrated in the following screenshot. Note that the new feature, Record | Record, is discussed in greater detail in Chapter 7, Photo Albums, Sections, and Show Tools:
- Open the presentation to export as a video. Click on Record | Export to Video
Figure 6.47 – The Record tab in PowerPoint 2021, showing the Export to Video option
- Click on Full HD (1080p) to see the list of options available.
- Choose the Ultra HD (4K) option to save the video as ultra-high quality and in the largest file format:
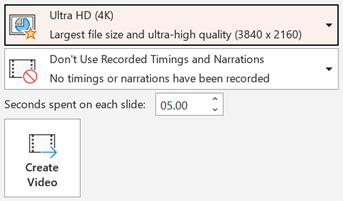
Figure 6.48 – The Ultra HD (4K) option
- Click on Create Video to complete the process. The presentation will be exported to the location chosen.
Well done! You have mastered a huge range of skills in this chapter.
Summary
This chapter has equipped you with the necessary skills to manipulate PowerPoint 2021 slides, apply and create themes, reuse slides, and work with textboxes and charts. You are now proficient in how to apply styles and manipulate slide elements using the Auto Fix feature. You have gained an understanding of how to insert an agenda and arrange and manipulate objects. Additionally, you know how to add and customize video and audio content on slides within a presentation. You have mastered the new drawing features, learned how to create and insert captions onto a video, and explored the playback options for audio and video.
In the next chapter, you will learn how to create stunning photo albums and learn how to define presentation sections and motion effects. Additionally, we will run through how to create a presentation and add animations, transitions, and slide timings to it. You will learn about the new Record feature and work with Presenter View. There is also a section on new features such as setting the reading order, and how to rehearse presentations using a body language and speaker coach. The new inking feature is also addressed in the following chapter. You will become a master with the advanced morph technique.


