
Flipping objects
- Click on the picture to flip.
- Find the Arrange group and click on Rotate | Flip Horizontal:
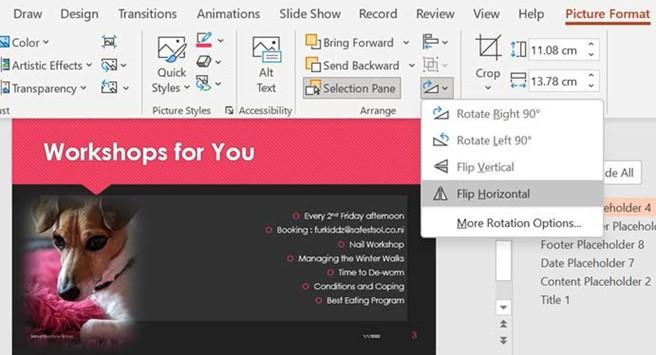
Figure 6.20 – The picture has been flipped horizontally
- Experiment with the other rotations or click on More Rotation Options… to access the dialog box.
Rotating objects
- Click on the picture you wish to rotate. The rotate icon will appear at the top center of the object and is identified by a circular arrow:

Figure 6.21 – The rotation handle icon
- Place the mouse pointer on the circular arrow, and while holding the left mouse button down, drag the position to rotate the object.
Another method would be to click on Picture Format | Rotate Objects | More Rotation Options…. This will open the Picture Format pane on the right-hand side of the window where you can manually enter a specific degree of rotation. Simply type the required degree of rotation into the text area that is provided next to the Rotation heading.
In the next topic, we will look at a new feature named Auto Fix.
Aligning objects
Although it is really easy to align objects using the drag and drop method when positioning elements using the mouse, the align feature is available for this purpose and allows the user to create professional-looking documents. There is nothing worse than looking at objects on a slide presentation that are uneven or slightly off in terms of their positioning. In the previous edition of our book, Learn Microsoft Office 2019, we looked at ways to align objects. In this topic, we will introduce Auto Fix.
Aligning objects using Auto Fix
PowerPoint can be quite time-consuming in terms of formatting, especially if you are a perfectionist. The new feature, Auto Fix, in PowerPoint for the web, is very efficient for aligning elements. Perform the following steps:
- Open the presentation called Safest Solution-Align.pptx.
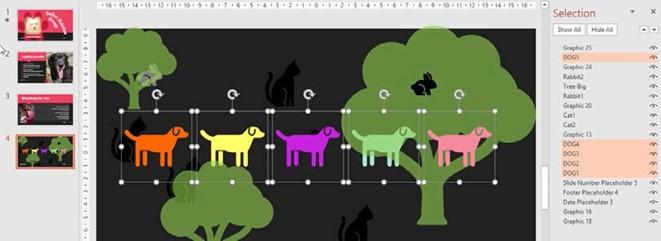
- Click to select Slide 4 of the presentation. Select the objects to align by placing the mouse pointer on the slide background. Then, while holding down the mouse pointer, drag the cursor over the objects you would like to align:
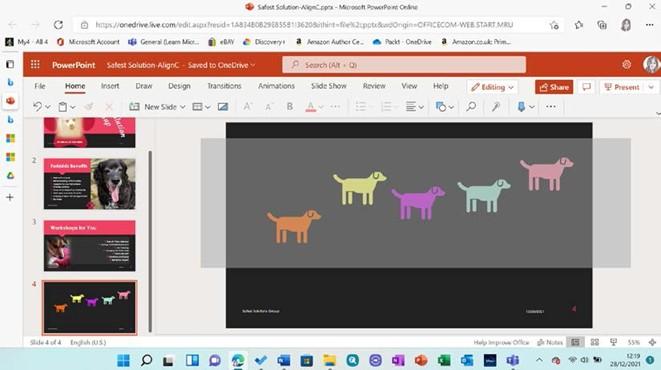
Figure 6.22 – The drag method to select objects on a slide
- Right-click on the border of one of the selected objects. Then, click to select Auto Fix from the drop-down menu provided:
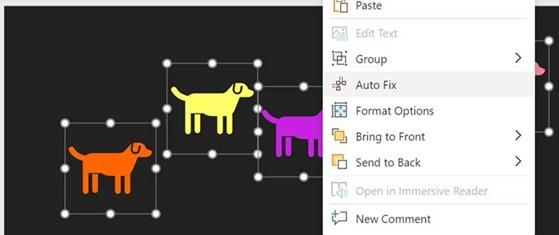
Figure 6.23 – Right-clicking on the selected objects on a slide presents the Auto Fix option
-
The objects are now horizontally and vertically aligned on the slide. The Auto Fix
option will align objects even if they are stacked below each other.
Aligning objects to the top
If you do not see the Auto Fix feature when you right-click, it could be that this is still being rolled out to your Office 2021 desktop platform. To align objects using the desktop, follow these steps:
- Open the presentation called Safest Solution-Align.pptx.
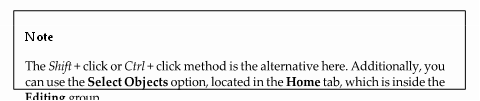
- Select the objects to align while holding down the Shift or Ctrl key. You can also use the Select Objects option, located in the Home tab, which is inside the Editing group.
- Click on the Graphics Format | Align drop-down list. Then, select Align Top:
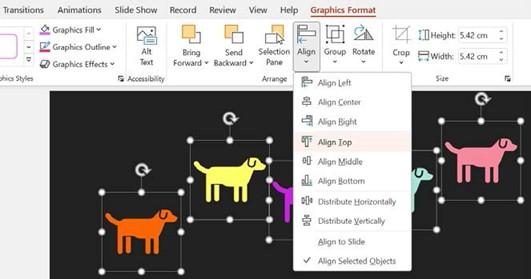
Figure 6.24 – The Align options located in the Graphics Format tab
-
Once the objects have been aligned to the top, you will notice that the gaps between each object are of different sizes. The Distribute Horizontally icon from the
Align drop-down list is perfect for fixing this. Pay attention to the change in the distribution of the shapes.
If you are having problems lining up objects, use the View | Gridlines icon to guide you. Now, let’s look at how the Selection pane can help you.


