
Headers and footers
A page header is an area at the top of the document where you can add text, page numbers, or logos that repeat at the top of each page of the document. A footer is the same, except it resides at the bottom of each page.
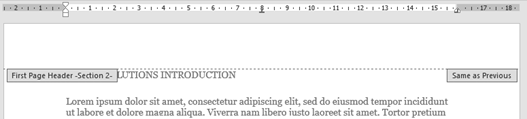
The header area is located at the top of the document:

Figure 4.5 – Page header area displaying sections
When a header exists in a document, you will notice that the information in it is grayed out when you are in the Print Layout view. This is because the information is not active at the present time. To activate this area and work in it, simply double-click on the existing header. The header area will open up, as shown in the preceding screenshot, and you will be able to edit it. The same applies to the footer.
Inserting a header and footer
Follow these steps to learn how to insert a header and footer:
-
Open the document that you wish to add a header to. We will continue with different header and footer sections.
Often, you might feel a bit restricted when dealing with headers and footers that have the same information at the top or bottom of each page in the document. With section breaks, you can fix this so that, for instance, pages 1 and 3 can have different header content to that of pages 2 and 4. Follow these steps to learn how to do this.
- Open the document called Sections.docx. Notice that the first page is excluded from headers and footers. This is because the Different First Page option is active in the document.
-
Also notice that, when viewing the header and footer area, the sections are the same from page 2 onward, and the Same as Previous option is active on each page header in the document. This means that anything inserted into a header or footer area will be repeated across all pages:
Figure 4.6 – Header section showing the Same as Previous setting
-
Insert section breaks, where relevant, into the document. (For this exercise, we will insert Next Page section breaks at the bottom of each page to break the document into different sections.)
- As you add Next Page section breaks, you might find that the text on the next page moves down slightly. This is normal, as the section break tends to do this. Just delete the space at the top of the document as you insert breaks.
- Make sure you are on the first page of the document.
- Double-click to open up the header area.
- Type the text Report on Services.
- As the second page displays Same as Previous to the right, any text added to the header will appear on the first page as well.
- Click into the header area on page 2, then click on Link to Previous from the Navigation group – this will remove the link between the two sections and allow you to delete the header from the first page, without interfering with any text on the second page:
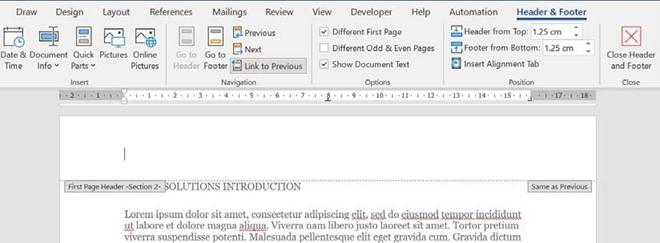
Figure 4.7 – Click on Link to Previous to unlink sections within headers and footers
- Move to the next page (Section 3).
- Click on Link to Previous to remove the link between the two sections.
- Enter the text Safest Solutions Group in the center of the header area.
- While navigating between sections, notice that the distance between the text in some sections is wider than the next. This demonstrates that you can also use formatting to denote a difference between sections in headers and footers.
- Move to the next page (Section 4).
- Click on Link to Previous to remove the link between two sections.
- Enter the text Report on Services.
- Continue in this fashion until you reach the end of the document.
- Finally, click on the Close Header and Footer icon to return to the document and view the result.
Now that we are up to speed with modifying headers and footers in Word 2021 documents, let’s move on to learn how to work with forms on the Word desktop and online versions.


