
The Table of Contents feature in Word for the web
The ability to create a ToC is a great additional feature for Word for the web users. To create a ToC online, position your cursor inside the document where you would like the ToC to be situated. Then, follow these steps:
- Click the Reference tab.
- Select Table of Contents. Then, from the drop-down list, choose Insert Table of Contents:
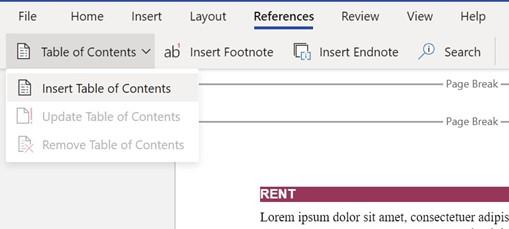
Figure 3.14 – The Table of Contents feature in Word for the web
- The ToC will be generated automatically based on the heading styles within the document:
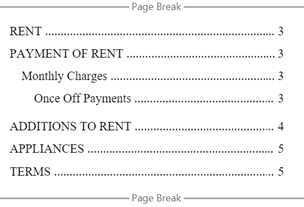
Figure 3.15 – Table of Contents on Word for the web
-
We can update or remove the ToC using the buttons that are available in the
Table of Contents drop-down list.
This section concentrated on just one method of creating multiple ToCs in a single document. There are a few methods you can apply to achieve the same result, but I find this method the most logical. In the next section, we will focus on generating cross-references.
Creating cross-references
In this section, we will learn about cross-references and how to insert them into a document. A cross-reference is created when we need to expand on a particular part of a document by denoting a link somewhere else in the document. Cross-references are often used in legal documents, where we click to navigate to another part of the document to expand on a particular clause, for example. We can create cross-references to headings, numbered items, tables, footnotes, and endnotes, to name a few. Follow these steps to create a cross-reference:
- Open the document that you would like to insert a cross-reference into. If you want to follow along, open the Safest Solutions Plan.docx file.
- Navigate to the bottom of page 1 and locate the sentence Please refer to point for more information and the car allowance policy.
- As we would like to insert a cross-reference to the point on the car allowance policy mentioned in this sentence, we need to click in-between the words point and for.
- Click on the Insert tab, then select Cross-reference from the Links group.
- In the Cross-reference dialog box that populates, make sure that Reference type: is set to Numbered item and Insert reference to: is set to Paragraph number (full context).
-
Click on the CAR ALLOWANCE / COMPANY CAR numbered item to make sure it’s selected for the For which numbered item: option.
This ensures that the number of the CAR ALLOWANCE / COMPANY CAR item’s location is inserted where your cursor is in the sentence. The user can then click on the numbered item referenced in the sentence to jump directly to that link for more information:

Figure 3.16 – The Cross-reference dialog box detailing various options
If a link that you have inserted a cross-reference for changes location, when you’re amending the document, you do not need to redo the cross-reference. Use the Ctrl
+ A shortcut to select the entire document, then press F9 to update the references. You can also right-click on an existing cross-reference, then choose Update Field.
If, however, the reference no longer exists in the document, you will need to update the reference by manually reinserting the cross-reference.
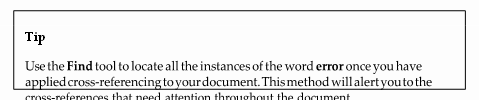
If the reference cannot be located in the document, it should display Error! Reference source not found.:

Figure 3.17 – Cross-reference error text in the document
- Once the cross-reference has been inserted, Ctrl + click to move to the reference item in the document.
Now that you know how to apply multiple ToCs to one document and can generate and update cross-references, let’s look at some new drawings and media elements.


