
Macro 7: Opening a Specific Workbook Defined by the User
Want to give yourself or your users a quick way to search for and open a file? This macro uses a simple
technique that opens a friendly dialog box, allowing you to browse for and open the Excel file of your
choosing.
How it works
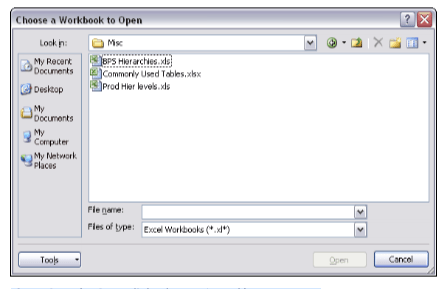
This macro opens the dialog box you see in Figure 2-7, allowing the user to browse for and open an Excel
file.
Figure 2-7: The Open dialog box activated by our macro.
Here’s how this macro works:
Sub Macro7()
‘Step 1: Define a string variable.
Dim FName As Variant
‘Step 2: GetOpenFilename Method activates dialog box.
FName = Application.GetOpenFilename( _
FileFilter:=”Excel Workbooks,*.xl*”, _
Title:=”Choose a Workbook to Open”, _
MultiSelect:=False)
‘Step 3: If a file was chosen, open it!
If FName <> False Then
Workbooks.Open Filename:=FName
End If
End Sub
1. The first thing this macro does is to declare a variant variable that holds the filename that the
user chooses. FName is the name of our variable.
2. In Step 2, we use the GetOpenFilename method to call up a dialog box that allows us to
browse and select the file we need.
The GetOpenFilename method supports a few customizable parameters. The FileFilter
parameter allows us to specify the type of file we are looking for. The Title parameter allows us
to change the title that appears at the top of the dialog box. The MultiSelect parameter
allows us to limit the selection to one file.
3. If the user selects a file from the dialog box, the FName variable is filled with the name of the
file they have chosen. In Step 3, we check for an empty FName variable. If the variable is not
empty, we use the Open method of the Workbooks object to open the file.
How to use it
To implement this macro, you can copy and paste it into a standard module:
1. Activate the Visual Basic Editor by pressing ALT+F11.
2. Right-click the project/workbook name in the Project window.
3. Choose Insert➜Module.
4. Type or paste the code in the newly created module.
5. Optionally, you can assign the macro to a button (see the section “Assigning a macro to a
button and other form controls” in Part I).


