
Creating a custom slide show
The Custom Slide Show feature in PowerPoint is extremely useful when you need to create several different shows within one PowerPoint presentation. Not all slides apply to all audiences, so different categories of slides can be sent to a custom show and named as such so that you can present just the right content for a particular audience, without having different presentations for different audiences/content:
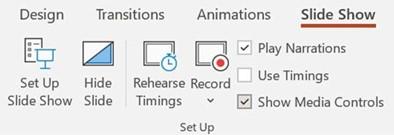
- To create a custom show, click on the Slide Show tab on the ribbon.
- Click on the Custom Slide Show icon.
- Choose Custom Shows…, as illustrated in the following screenshot:
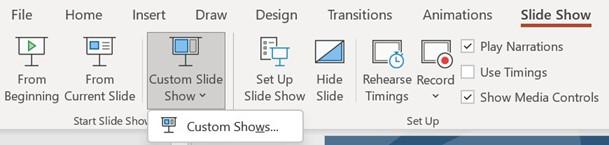
Figure 7.26 – Custom Slide Show option
- Click on the New… icon.
- Name the slide show by typing text into the Define Custom Show dialog box.
- Click to select slides to add to the custom show.
-
Use the Add>> icon to move the slides to the right side of the dialog box, to be included in the new custom show. Click on OK when done. Note, it’s very
important to make sure that slides are included in a specific order (especially if preparing for an international computer examination).
- The new custom show will appear in the Custom Shows dialog box.
- To make changes, click on the Edit… icon.
- To delete the custom show, click on the Remove icon.
- To display the show, click on the Show icon.
- Click on Close when done.
-
The new custom show will be visible when clicking on the Custom Slide Show
icon on the Slide Show tab.
If viewing a presentation using a screen reader, you now have the ability to set the order. We will learn about this new option in the next topic.


