

Constructing online forms
Forms are very useful for collecting information, thus restricting users so that they can only fill in the required information without being able to change the format of the document. To begin the process of constructing a form, you will either need a new
document, an existing document, or a template to base the form on. When we design our form in Word 2021, we can add content, such as drop-down lists of choices, textboxes, checkboxes, date fields, and content controls using the Developer tab.
Preparing the form layout
We will design a form for colleagues to fill in at our company. This form will be added to our intranet page so that colleagues can sign up to do volunteering work within the local community. Office 2021 has some new form templates, which can be downloaded to save time. Visit the forms available within Word 2021 by following the next steps:
- Click on File | New.
- Locate Search for online templates, then click to type a keyword into the area provided, such as forms.
- Press the Enter keyboard key to view the results of the search.
-
Click on a form that suits your requirements, then edit the form and send it out to participants.
We will, however, create our own form from scratch as we would like to recap certain skills. Let’s create the basic form to see how the process works! The form we design will recap certain basic skills that we covered in the first edition of our book, Learn Microsoft Office 2019.
- Make sure you have a new blank document open (by going to New | Blank Document).
- Save the document as SafestSolCharity.docx.
- Double-click in the header section of the form and insert a table with one row, and one column. The height of the row must be set to 1.79 cm:
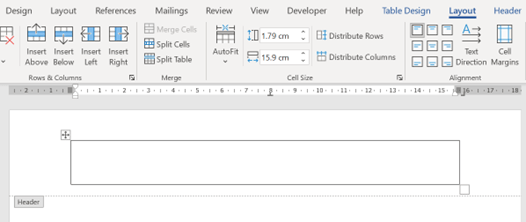
Figure 4.8 – Table Layout options displaying 1.79cm row height in the header area
- Remove the border of the table (Table Design | Borders | No border) so that only table gridlines are showing (Layout | View Gridlines).
- Amend the table shading to the Hex code #9999FF.
- Insert the Stock Media | Stickers picture into the left-hand side of the table. Change the wrapping of the sticker to In Front of Text and resize to fit into the table row height.
- Add a heading named Safest Solutions Charity Drive, then format the text to Brush Script MT (font size 20), with a Hex shading of #CDCDFF. After formatting, your header will look similar to the next screenshot.
Figure 4.9 – Screenshot displaying the formatted header table
-
Press the down arrow on the keyboard to move to the Footer area of the document. Set out the company address in font size 8, and the stock media sticker to the right- hand side of the footer.
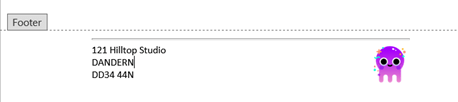
Figure 4.10 – Footer area of the document displaying the finished product
-
Insert a horizontal line above the address using the Paragraph group, and the
Borders | Horizontal Line option.
Figure 4.11 – Horizontal Line option located from the Borders drop-down list
- Let’s build the body of the form. Insert a table consisting of 22 rows and two columns:
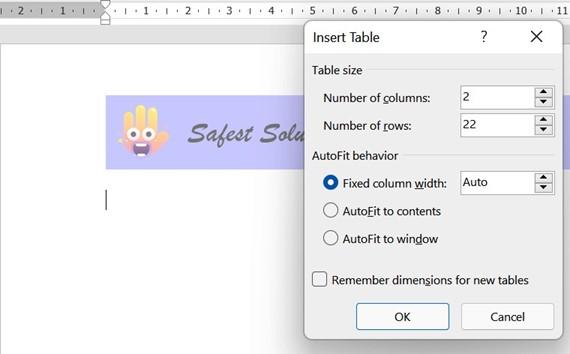
Figure 4.12 – Insert Table dialog box
90 Managing Professional Documents

- Set the row height to 1.05cm for all rows in the table.
- Set the column width for the first six rows to 3.34cm.
- Set the cell alignment to the bottom left. Type the following text as headings for each of the rows:
- First Name
- Surname
- Address
- City / Post Code
- Email
- Home Phone
- First Name
- Split the sixth row into four columns:
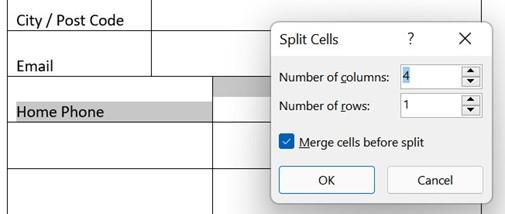
Figure 4.13 – Split Cells feature within a Word table
- Line up the first column for the sixth row, making sure it is the same width as the rows above, then add the text Cell Phone into the third column.
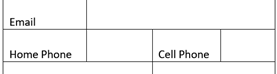
Figure 4.14 – Sixth row split into four columns with the addition of the Cell Phone text
Constructing online forms 91

- Merge the columns in the seventh row, then add the text I am interested in the following charities:
- Add the text as per the next screenshot, and format the rest of the table as required.
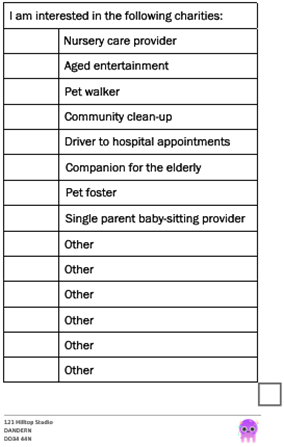
Figure 4.15 – Charity examples entered and formatted
Now that we have the layout sorted, let’s learn how to add form controls to finish off the form.
92 Managing Professional Documents


