TRANSFERING DIMENSIONS IN BETWEEN THE VIEWS
During drawing work, avoid duplication of laying down the same measurements.
Height dimensions may easily be transferred among the front and the end view with
the help of the T-square as shown in Fig. 3.14 (A). Similarly length dimension may be
transferred among the top and the front view by using a combination of any triangle
and T-square as

Fig. 3.14 Transfer of Length and Height Among the Views
shown in Fig. 3.14 (B). Width dimension may be transferred among the top and the end
view in four different ways. First, if we know the measurement in one of the views,
we may transfer it to the other view using a suitable scale. Second, the dimension
may be transferred by using a divider as shown in Fig. 3.15 (A). Third, a 45°-line may
be drawn
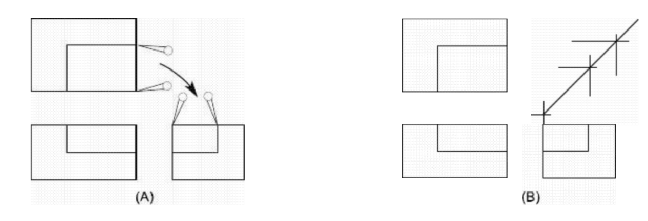
Fig. 3.15
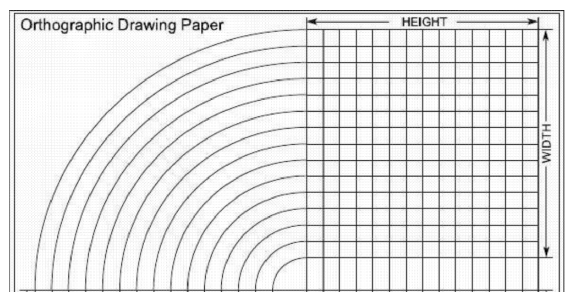

Fig. 3.16 Orthographic Drawing Paper (Not on Scale)
from the intersection of the construction lines extended from the inner side of the E..V and lower side of the T.V, as shown in Fig. 3.15 (8), the dimension is then transferred by taking vertical projection from the E.V to the 45°-line and then horizontal projection to the T.V or
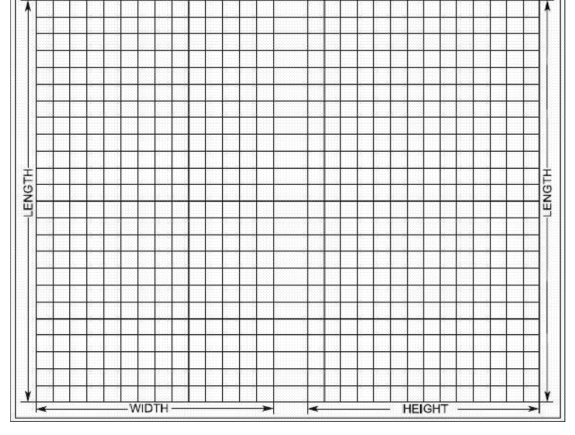
vice versa. Fourth, we may use an orthographic drawing paper in which width dimension is transferred by a curve as shown in Fig. 3.16.


