
Changing the outline color and weight
To change the outline color and weight, follow these steps:
-
Select the textbox, locate the Drawing Tools contextual menu, and click on the
Format tab.
- Click on Shape Style | Shape Outline in order to select a line color.
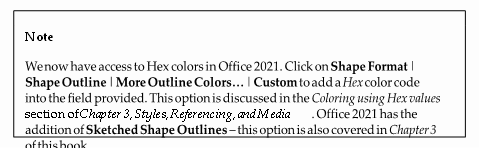
- If the theme or standard colors are not what you are looking for, select More Outline Colors… to choose a custom color or select one from the color wheel.
-
If the default weight of the line is not thick enough, use the Weight option from the
Shape Outline drop-down list to change it.
- Use the Sketched lines option to jazz up your PowerPoint presentation:

Figure 6.17 – The Sketched line types in Office 202
- Click on the Dashes option to display different line styles to apply to the textbox.
-
To remove an outline from a shape, select the shape and click on the No Outline
option from the Shape Outline drop-down list.
The next topic is very useful, especially when using the Selection pane. Let’s investigate it next.
Arranging objects
By the end of this section, you will be confident with arranging, grouping, and rotating objects, as well as being able to use the Selection pane to locate hidden objects. We will also recap how to resize and reset objects.
There are numerous Arrange options available from the Picture Format tab. To access these options, follow these steps:
-
Select a picture on a slide in your presentation. For this example, we will use the
Safest Solution-Objects.pptx presentation.
- There are many Arrange options that you can use to order, group, and position objects on slides. You can access the Arrange options using any one of the following methods:
- The first is accessible via the Drawing group in the Home tab.
- The second is accessible via the Picture Format tab at the very top of the PowerPoint ribbon once an object has been selected.
- The third is accessible via right-clicking on an object, after which the shortcut menu will appear for you to choose from the Arrange options.
- The first is accessible via the Drawing group in the Home tab.
Now we will learn how to use the Arrange options.
Sending an object forward or backward
- Click on the picture you wish to bring to the front of the textbox.
- Click on the Picture Format | Bring Forward option to access the drop-down menu, then select Bring to Front. Alternatively, right-click on the shape and choose Bring to Front from the shortcut menu:
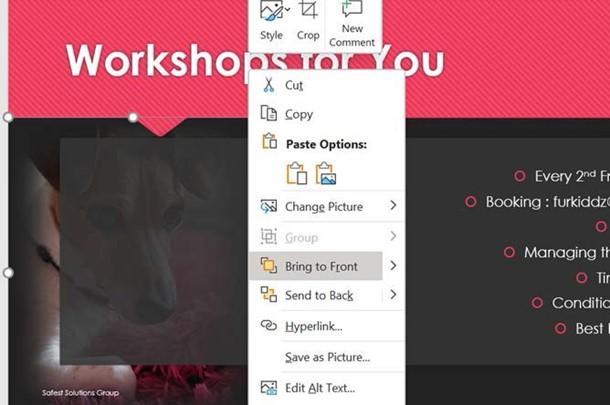
Figure 6.18 – Right-clicking on a picture to access Bring to Front
- The picture will move to the front, and the textbox shape will move to the back:
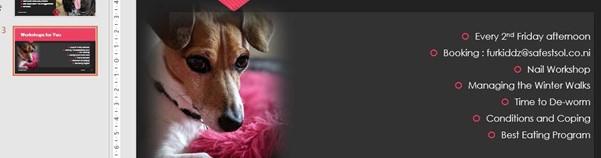
Figure 6.19 – The picture is now in front of the textbox
When working with pictures, you will access the Arrange group from the Picture Format tab to make any formatting amendments, and for shapes, you will access the Shapes Format tab to change arrange options.
