
Recording document automation
We can use macros to help with document automation tasks. Such tasks could include a letter closing, defi g company branding adding headers and footers, for example. The list is endless. Macros are simply actions you record within an application that are played back. Th s saves time when you repetitively have to perform the same task over and over again.
In addition to creating macros, we can also use the Quick Parts or AutoText features within Word to save items we use regularly in Word. These are located on the Insert tab. Before we record a macro, let’s look at an example of an AutoText entry.
Creating Quick Parts
If you would like to reuse content within Word, you can add a selection to the Quick Parts feature and access the content when you need it. This is great for opening paragraphs, clauses, schedules, and signature closing.
Let’s run through the steps to create a Quick Part:
- Open the document named SafestSolLetter.docx.
- Navigate to the end of the letter where you will see the letter closing.
-
Select the closing by highlighting from Yours sincerely to the end of the
Enclosure section.

Figure 4.34 – Save Selection to Quick Part Gallery
- Navigate to Insert | Explore Quick Parts, then click to select Save Selection to Quick Part Gallery….
- Type a name for the Quick Part into the Name: area. For this example, we have typed Closing.
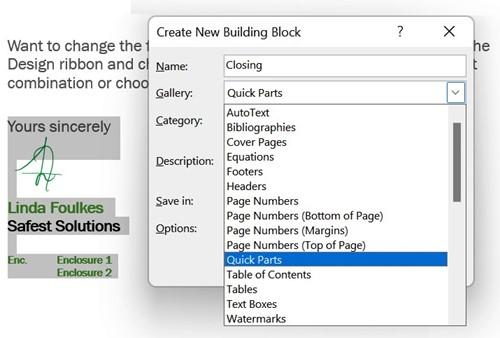
Figure 4.35 – Create New Building Block dialog box
- Select the Gallery: option you wish to store the Quick Part in. If you leave the default option as Quick Parts, the closing will appear directly under the Explore Quick Parts dropdown for easy access.
- If you wish to create a category directly under the Explore Quick Parts dropdown, type the name of the category you wish to create. Let’s use Closing as our category here. The default category the entry is saved to is General.
- Add a description if required.
- The Save in: options are important – make sure to choose the Normal option from the drop-down list if you would like all new documents to contain the Quick Part you have created.
- Use the Options: drop-down list to specify how you would like the Quick Part to appear. You can choose from the following:
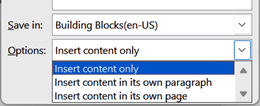
Figure 4.36 – Options to insert content when adding Quick Parts to documents
- Click on the OK button to add the entry to the Quick Part gallery.
- The entry now appears in the Explore Quick Parts drop-down list.
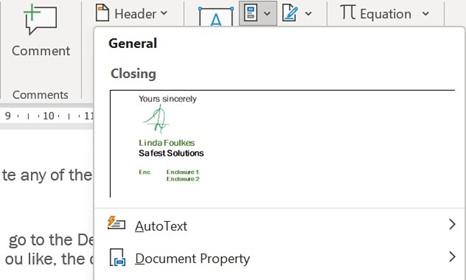
Figure 4.37 – Quick Part added to the Closing category
Now that you know how to add a Quick Part, let’s see how we reuse the Quick Part in a document.
Generating Quick Parts
Quick Parts can be generated by clicking on the Quick Part name in the gallery or using the keyboard:
- Open a new document.
- Type the name of the Quick Part. In this case, Closing.
- Press the F3 keyboard key to generate the Quick Part. Note that if you are working on a laptop, you may need to press the FN + F3 keys.
- The entry appears in the document at the insertion point. Use the Insert | Explore Quick Parts menu should you wish to have control over where the entry is placed. Locate the entry, then right-click on the entry to display the various insertion options available. Visit the screenshot in the next topic to see the available options.
We can edit Quick Part entries at any time. We will learn how to do this in the next topic.
Editing Quick Part entries
After creating the Quick Part entry, we may need to amend or move the Quick Part to a different gallery:
- Click Insert | Explore Quick Parts.
- Locate the entry to edit, then right-click on the entry.
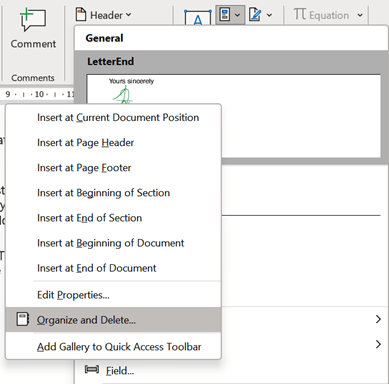
Figure 4.38 – Right-click options in order to edit a Quick Part entry
- Click on the Edit Properties… option to make changes to the category or gallery in which the entry resides, or use the Organize and Delete… option to remove the entry altogether.
You are now able to create, edit, and generate a Quick Part entry. The next topic will introduce you to macros
