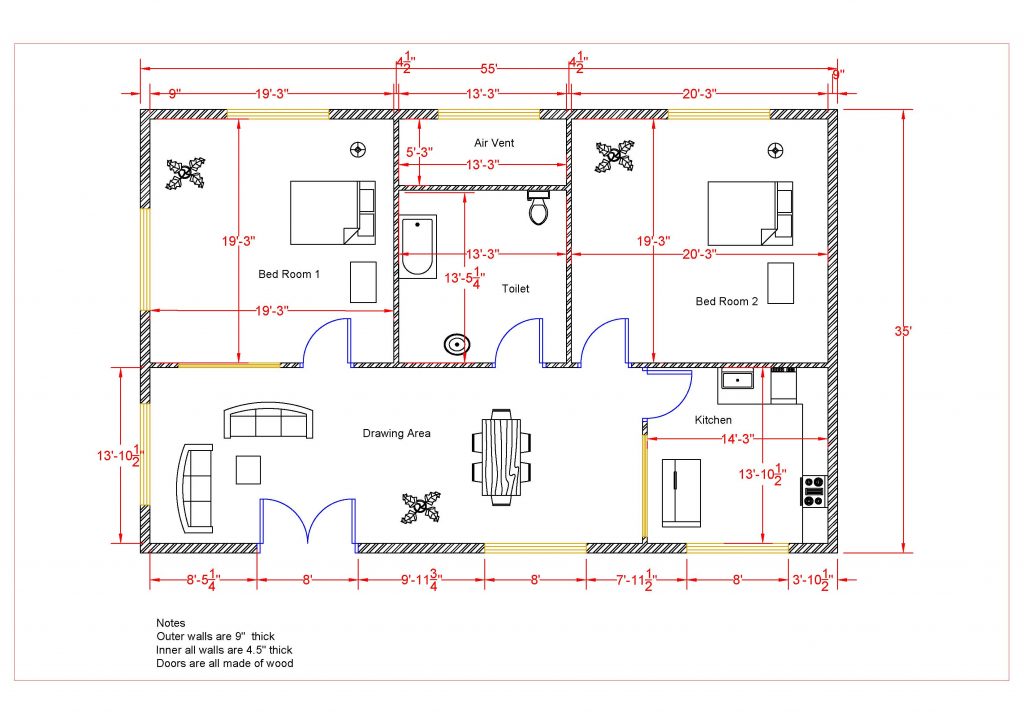
Creating the Driveway and Concrete Walkway
Next you will add the driveway and walkway to the site.
- Open the RL4-2 file. Save the file as RL4-3.
- Open the Site Plan view.
- Change the Visual Style to Shaded and set the scale of the view to
1/8″ = 1′-0″.
- Click on the Show Crop Region tool. You may need to zoom out to see the crop window.

Show Crop Region Tool
- Click on the Crop View tool to crop the view to the edge of the crop window.

Crop View Tool
-
Adjust the edge of the crop window to just outside of the property lines as shown.
Also, if needed, hide the Project Base and Survey Points.
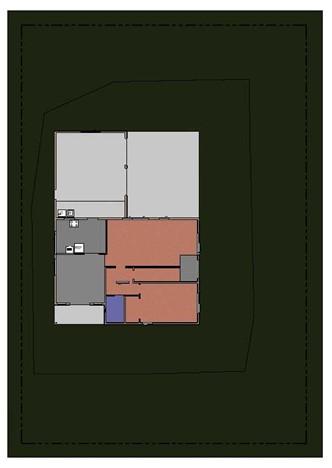
Cropped View with Shading
- Click on the Subregion tool in the Modify Site panel.
You do not need to pick the topography first.
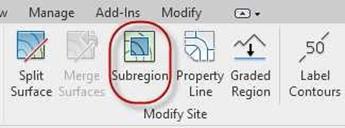
Subregion Tool
- Draw the boundary of the Subregion as shown.
Dimensions are approximate and will only appear while in Sketch Mode.
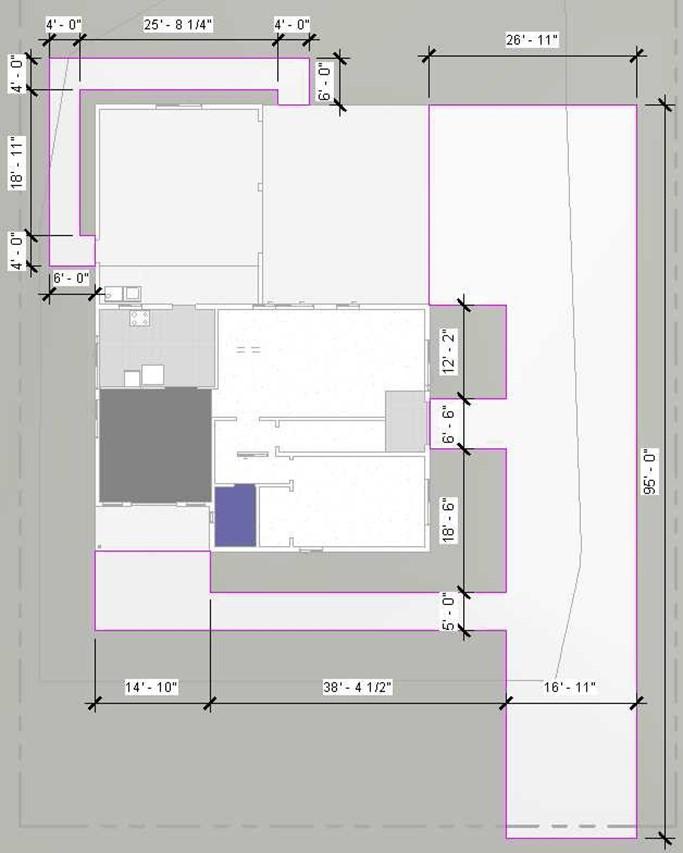
Subregion Boundary
- Set the material of the subregion to Concrete, Cast-in-Place gray. The surface pattern will not show on the subregion.
- Click the Green Check. The subregion is placed.

Subregions Placed
- This is the end of Part 3. Save your file as RL4-3.
![AutoCAD shortcuts & hotkey guide [All]](https://civilmdc.com/learn/wp-content/uploads/2020/06/AutoCAD-Shortcut-keys-scaled-e1591837739256-931x1024.jpg)