Creating the Light and Arraying the Group
Next you will create the symbol for the 8″ recessed light fixture.
- Open the WU2-1 file. Save the file as WU2-2.
- Create a new filled region material called Solid White.
- Start with the Solid Black type.
- Create a Duplicate and name it Solid White
- Change the color from Black to White.
- Click OK to create the material.
- Using the Region tool, draw a 4″ Radius circle. Set the Line Style to Medium Lines.
- Click the Green Check to finish the region.
- Draw two thin lines through the circle at 90 degrees apart.
- Move the symbol inside the room, you will see that the filled region blocks out the gypsum pattern.
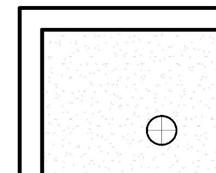
Light Symbol Moved Inside Room
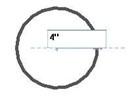
4″ Radius Filled Region
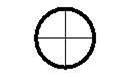
Finished Light Symbol
-
Select the circle and the lines. Click on the Create Group tool. Name the group
“8” Light”.
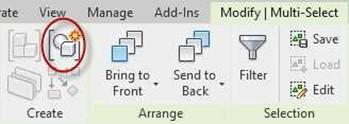
Create Group Tool
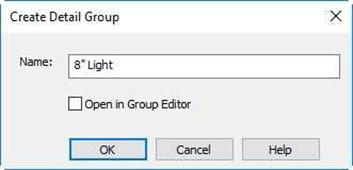
Create Detail Group Dialog
- Select the group. Click on the Array tool.

Array Tool
- Setup the Options bar as shown. Then click to the right of the original symbol. A total of five copies will be made. Make sure that the Group and Associate box is unchecked.

Options Bar
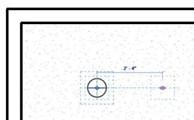
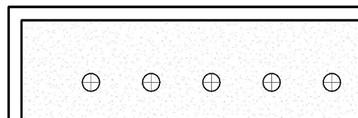
Light Selected Copies Created
- Repeat the process and create four rows of five lights.
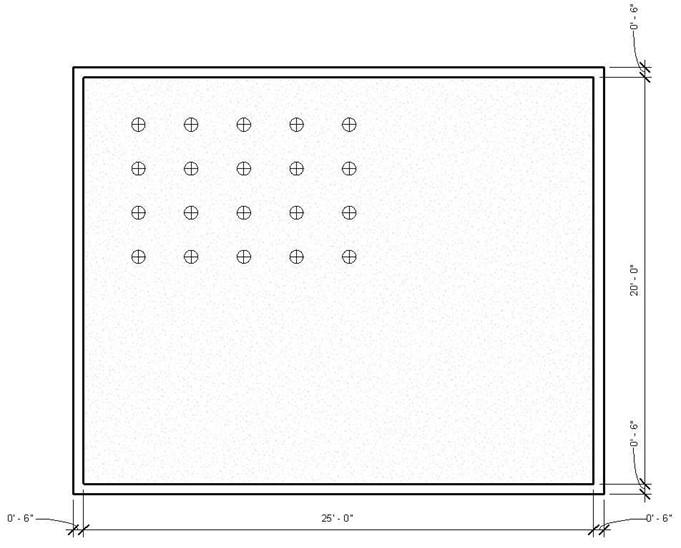
Completed Array
This is the end of Part 2. Save your file as
![AutoCAD shortcuts & hotkey guide [All]](https://civilmdc.com/learn/wp-content/uploads/2020/06/AutoCAD-Shortcut-keys-scaled-e1591837739256-931x1024.jpg)