Creating the First and Second Floor Roofs
Now you have the first and second floor walls, doors, and windows added. Next you will add the three roofs (Garage, Second Floor and First Floor). You will be using the footprint method for the roofs.
 Open the RL1-4 file. Save the file as RL1-5.
-
Switch to the First Floor view. You will start by adding the Garage roof. The roof will be
placed 9′-0″ above the first floor level.
- Go to the Roof tool in the Architecture ribbon, Build panel.
Roof Tool
- In the Properties Box, select the “Basic Roof Wood Rafter 8″ – Asphalt Shingle” roof style. You will use this style for the roofs in this part of the tutorial.
- In the Properties palette set the Base Offset from Level to 9′-0″.
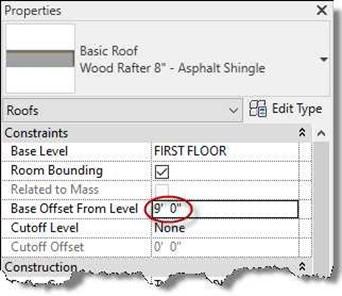
Base Offset From Level
- In the Options Bar, set the Overhang to

2′-0″.
Overhang Set to 2′-0″
- Select the Pick Walls option in the Draw panel.

Pick Walls Option
- In the Options Bar, check the Defines Slope check box.
- Pick the West, North, and East Garage walls.
-
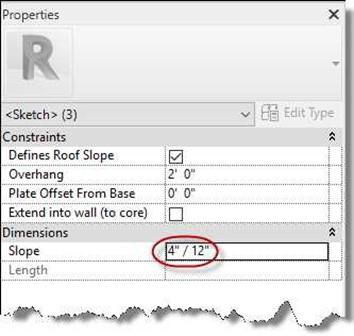
After adding the lines select them again and change the slope from 9″/12″ to 4″/12″.
Do this by picking on the number for the slope in the Properties dialog box.
- Turn off Defines Slope and change the pick mode to Pick Lines.
This is to the left of the Pick Walls mode.
- Pick the outside face of the garage separation wall.
Use the Trim/Extend to Corner tool to create an enclosed shape.
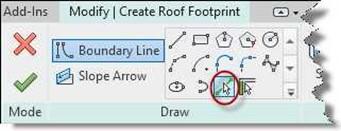
Pick Lines Option
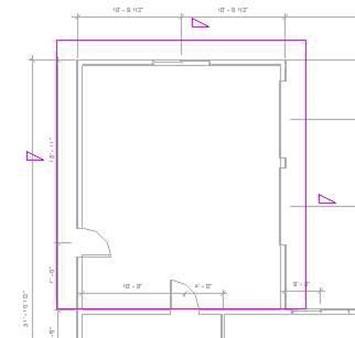
Enclosed Roof Sketch
- Next, you will create a notch at the lower left corner of the roof.
Zoom in to the corner and use the offset command to add an additional 12″ of roof surface on the outside.
Make sure that the new lines are not sloped.
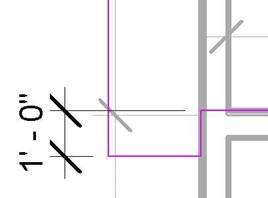
Roof Notch Added
-
Click the Green Check to complete the roof.
- When the Alert Box appears, click the Yes button.
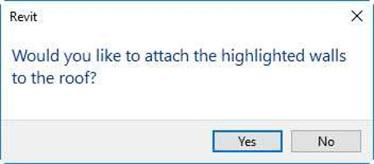
This will lower the tops of the garage walls to the bottom of the roof.
- Open the 3D view to check the notch location.
- Switch to the 3D View to see the Garage Roof.
Alert Box
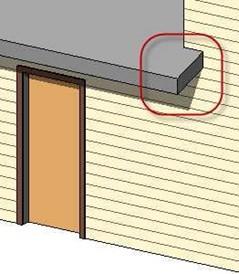
Roof Notch
Note: You might need to set the head height of the second floor window to
the right of the ridge to 7′-0″.
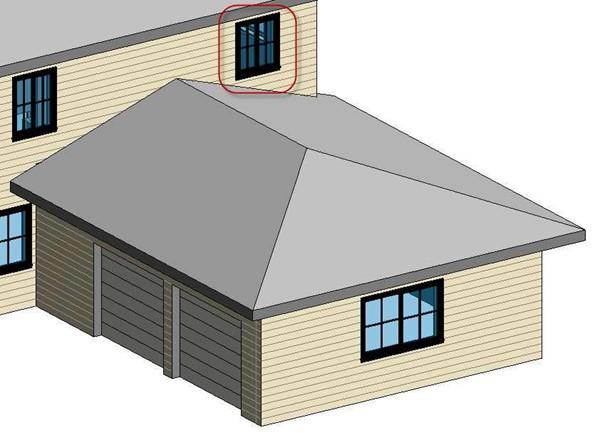
Completed Garage Roof
Next you will create the roof on the South Side of the building.
Two methods will be shown. If you would like to try both methods, you should save your drawing later in this procedure as RL1-5a.rvt. This way, you may try the other method after completing the first one.
Method #1 – Attach the walls to bottom of roof.
In this method you will draw the outline of the roof and then use the Attach Top/Base tool to attach the wall to the bottom of the roof.
- Switch to the Second Floor view.
-
Add the south roof using the same methods as with the garage roof.
- Set Overhang for the east and west edges to 1′-0″. The south edge is set to 2′-0″ overhang. The slope of the roof is 2:12.
-
 Change the Base Offset from Level to 0′-0″.
- When creating the sketch, the north side of the roof is set to the face of the wall.
- Add a notch in the roof at the upper corners.
The dimension is optional and will disappear when the roof is
completed. Notch Dimension
- Your sketch should look like this…
Use the trim and offset tools to add the lines.
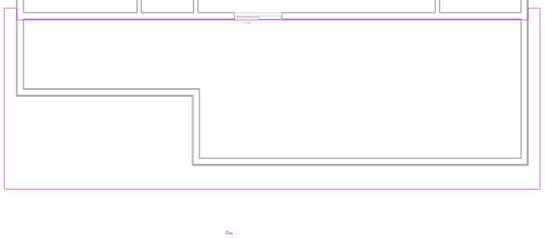
South Roof Sketch
- Click the Green Check and switch to the 3D view.
Your roof should look
like this…
Note: At this point, save the drawing and then save as RL1-5a.
-
Open the RL1-5.rvt file.
- Now you will attach the top of the walls to the bottom of the roof.
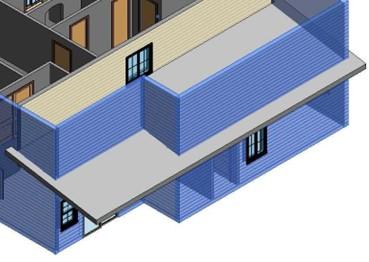
While still in the 3D view, select the five walls on the south side of the house.
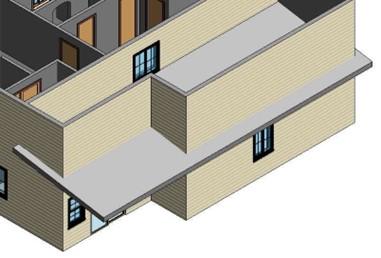
South Roof
-
Continuing with the procedure, select the AttachTop/Base tool in the Modify Wall panel.
-
Pick on the edge of the Roof.
- The walls will lower to attach to the bottom of the roof.
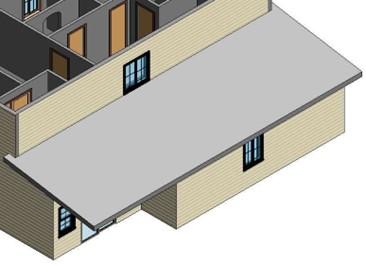 Walls Selected
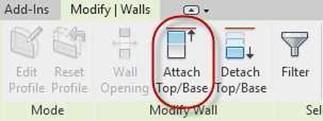
Attach Top/Base Tool
-
Note the two gray strips at the corners. This is due to the east and west walls not displaying correctly at the corners. You will need to paint the surface that is showing the interior of the wall.
-
Zoom in on the corner to the left.

Gray Strip at Corner
- Go to the Paint Tool in the Modify ribbon, Geometry panel.
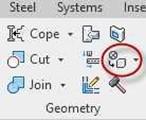
Paint Tool
Walls Attached to Roof
- The Material Browser dialog box will open. Select the Siding, Clapboard material.
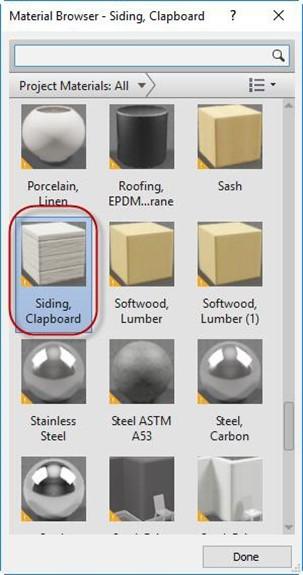
Material Browser Dialog
- Leaving the dialog box open, pick in the gray area, the surface will change to match the rest of the wall.
Click the Done button when finished.
- Repeat the steps for the right side of the building.
- Save the file as RL1-5.
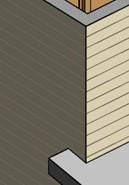
Painted Surface at Corner
Method #2 – Modifying the wall profile.
In this method you will use the Edit Profile tool to change the outline of the east and west exterior walls to conform to the roof profile.
Note: This is the method that was used for the remainder of the book.
- Open the file saved as RL1-5a. Your file should look like this.
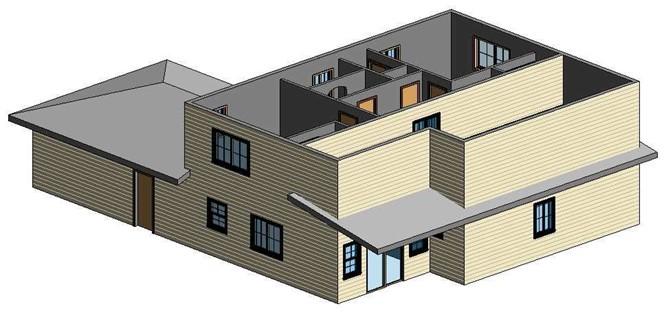
RL1-5a File Starting Point
- Select the three walls on the south side of the building. Use the Attach Top/Base tool to attach the walls to the bottom of the roof.
-
Open the West elevation view.
- Click on the west exterior wall and then the Edit Profile tool in the Mode panel.
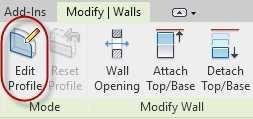
Edit Profile Tool
- The boundary of the wall will change to magenta. Use the pick lines and the trim/extend tools to modify the profile.
Click the green check to complete the change.
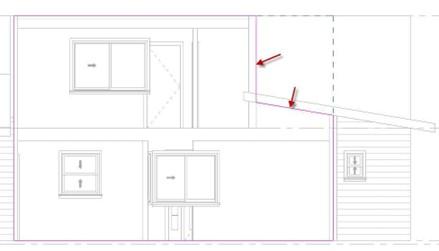
Modified Profile
- The wall is now changed. The advantage to this method is that you will not need to paint the corner of the wall join. The corner of the wall will also appear more accurate with the method.
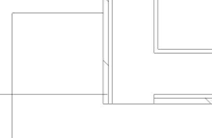
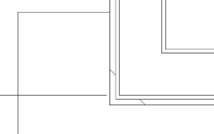
Method #1 Method #2
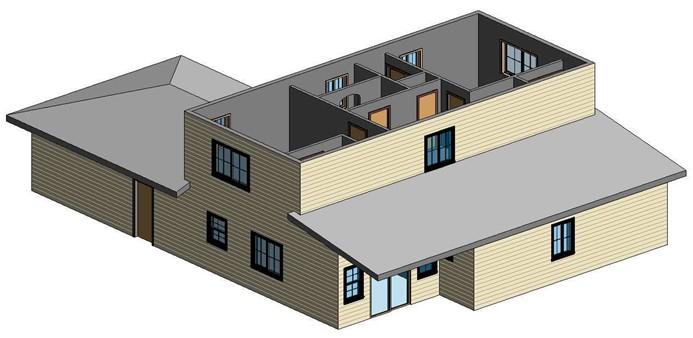 Repeat the process with the east exterior wall. Use the East elevation view to change the profile.
Walls Connected to Roof
Next you will create the roof on the second floor of the building.
At this point in the tutorial, you may decide to continue with Method #2 or switch back to Method #1. If you decide to return to Method #1, save your file and then open RL1-5.
- Open the Second Floor view. Click on the Roof tool. Use the same roof type as before.
-
Set the Base Level to Plate Line.
Use the Pick Walls option to pick all four walls.
Set the slope to 4″/12″. Set the overhang to 2′-0″.
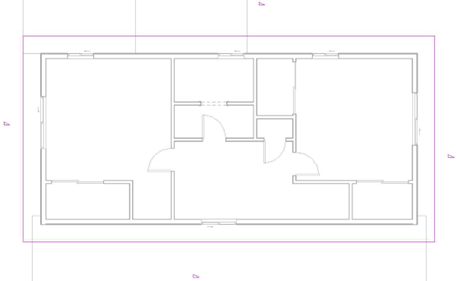
Second Floor Roof Sketch
-
Trim/Extend the lines together after picking the walls.
-
Click the Green Check. Do not attach the walls to the roof.
-
The Roofs are completed.
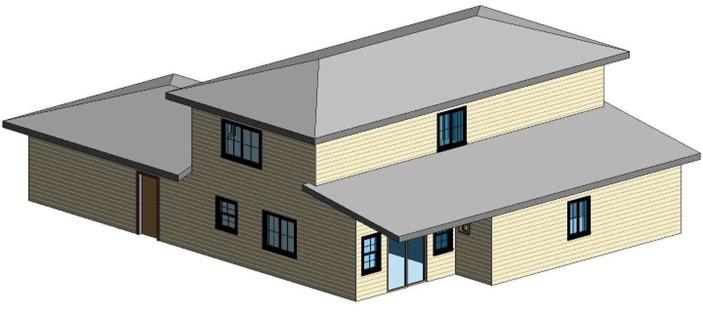
Completed Roofs
-
This is the end of Part 5. Save your file as RL1-5.


![AutoCAD shortcuts & hotkey guide [All]](https://civilmdc.com/learn/wp-content/uploads/2020/06/AutoCAD-Shortcut-keys-scaled-e1591837739256-931x1024.jpg)
