Adding the Second Floor Plate
- Open the RL1-8 file. Save the file as RL1-9.
- Open the Second Floor view.
- Click on the Floor tool in the Build panel.
- In the Type Selector, select the Wood Joist 10″ – Wood Finish floor type.
The Level is set to Second Floor and the Height Offset From Level is set to 0′-0″.
-
Pick the Pick Walls option in the Draw panel.
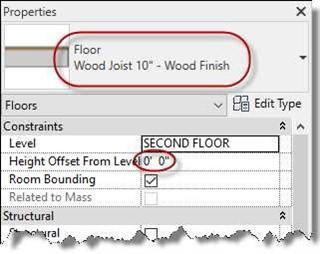
Wood Joist 10″ – Wood Finish Selected
- Pick once on each of the exterior walls.
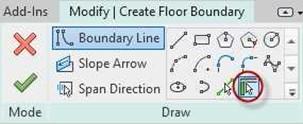
Pick Walls Option
- Trim/Extend the lines together to form an enclosed shape.
Note: The double lines on one of the edges indicate the span direction. This will not matter for the Architectural model but is used in the Structure portion of the software.
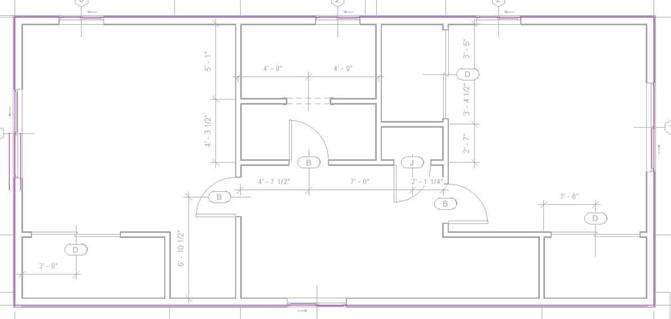
Second Floor Sketch Boundary
- Click the Green Check to place the floor.
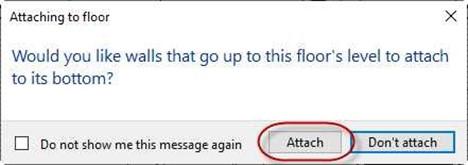 Answer Yes when the Attaching to floor dialog box appears.
Attaching to floor dialog box
- When the second Alert Box appears, answer Yes.
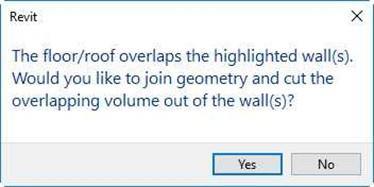 This will cause the top of the first floor walls to stop at the bottom edge of the second floor plate.
Alert Box
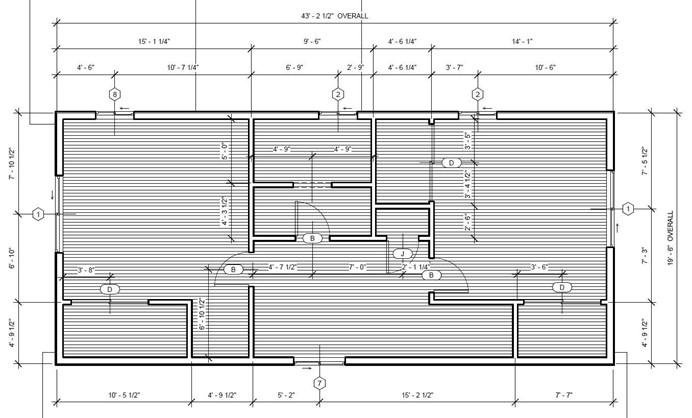 The second floor plate is now placed.
Second Floor Plate Placed
- Click on the one of the lines of the floor pattern to select the floor.
- Click the Edit Type button in the Properties palette.
- Click on the Edit… button next to the Structure parameter.
- Click on the Oak Flooring material in the Material column. Then click the button that appears to open the Material Browser dialog box.
- Click on the color bar in the Surface Pattern area.
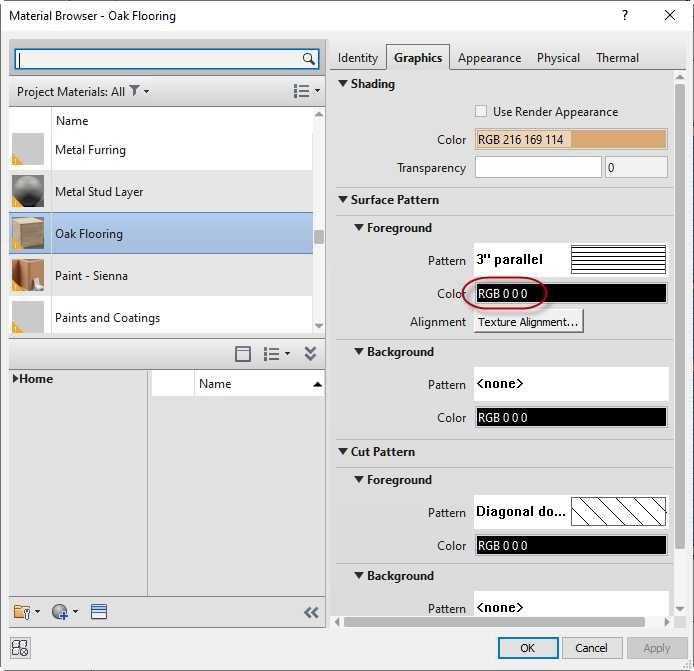
Material Browser (Oak Flooring)
- Set the color to light gray as shown.
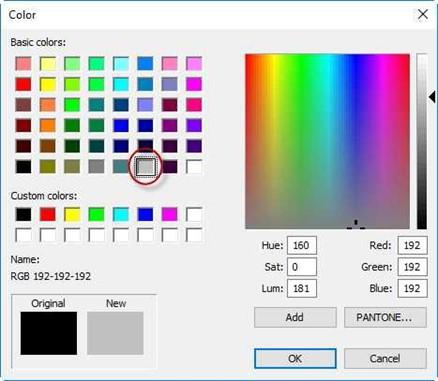
Color Dialog Box
- This is the end of Part 9. Save your file as RL1-9.


![AutoCAD shortcuts & hotkey guide [All]](https://civilmdc.com/learn/wp-content/uploads/2020/06/AutoCAD-Shortcut-keys-scaled-e1591837739256-931x1024.jpg)
