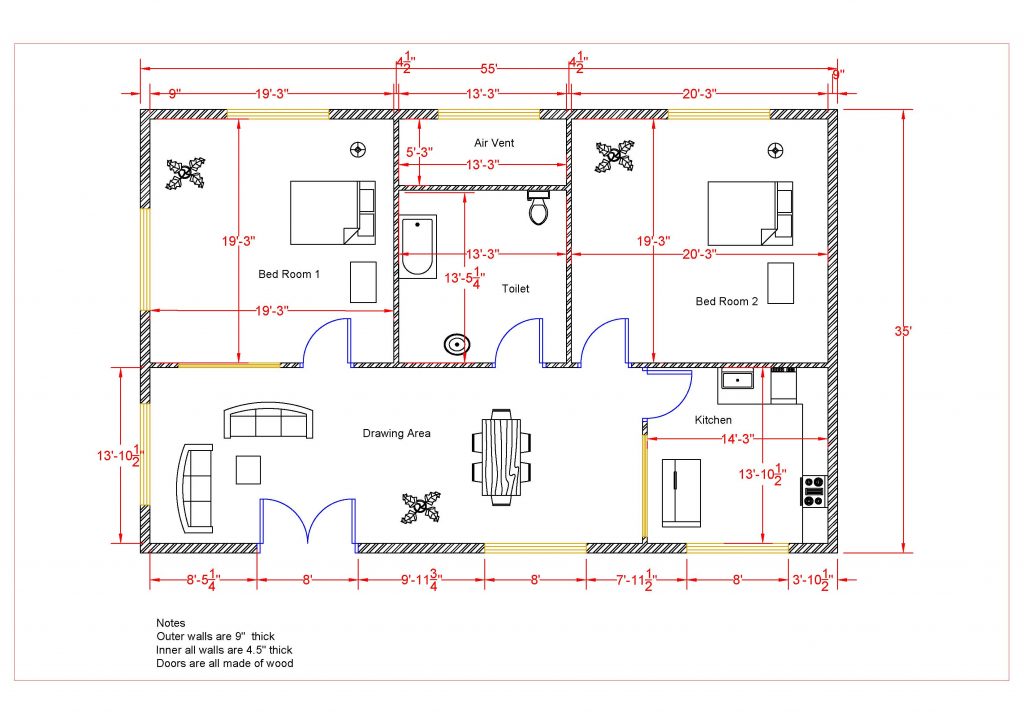
Adding the Room Tags
In this part you will create, name, and number the rooms. You will also calculate the area of each room and use the information to create a Room Finish Schedule.
- Open the RL3-2 file. Save the file as RL3-3.
- Open the First Floor view.
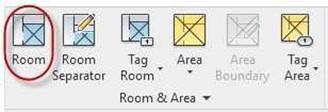
- Click on the Room tool in the Architecture tab, Room & Area panel.
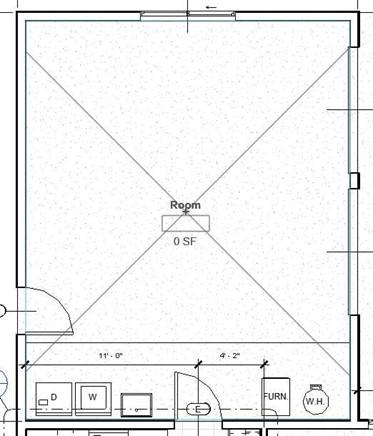
Garage Room Area
- Click inside the Garage.
Make sure the Tag on Placement option is highlighted.
- As you click in the room an “X” will appear along with a blue boundary for each room.
Room Tool
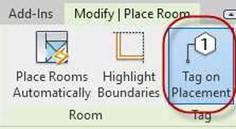
Tag on Placement Option
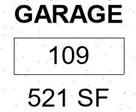
- After tagging the Garage click on the tag once then click on the word Room and rename it.
 Repeat the process for the room number. Rename all the rooms to match the example.
Renaming the Room Tag
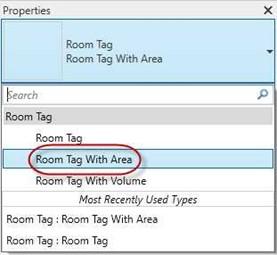
- If your tag is not showing the area of the room, select the tag and change the type in the Properties box.
Select the Room Tag With Area tag type.
Room Tag With Area Type
- Now the room tag will show the area in square feet.
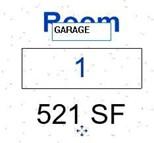
Note: When the tag needs to be outside the room, you will need to check the Leader box in the Options bar to attach a leader line to the tag.
Tag with Room Area

Leader Checkbox
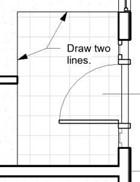
- Before tagging the Kitchen, Family Room, and Living Room you will need to place a room separator to create the separate rooms.
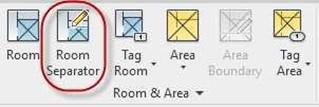
Room Separator Tool
- Click on the tool and draw the lines as indicated.
 Kitchen, Family Room, and Living Room Separator Lines
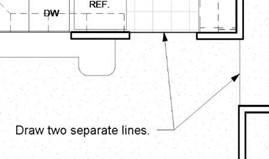
 Add two additional room separator lines at the main entry.
You may use the Pick Lines option to select the edges of the tile.
Main Entry Separator Lines
- Add the remaining rooms/spaces to the first floor as shown. Your square footages may differ slightly.
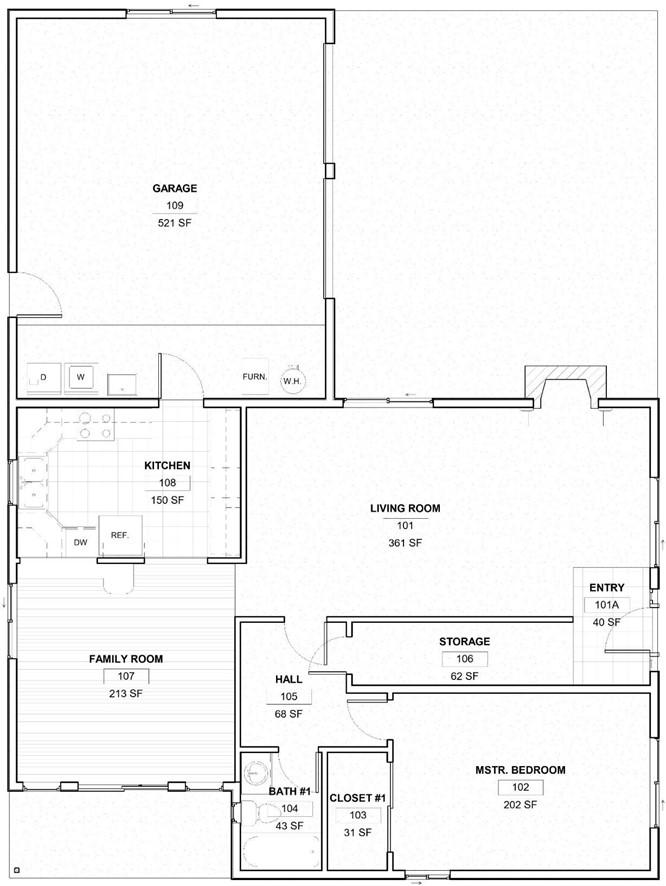
Tagged Rooms – First Floor
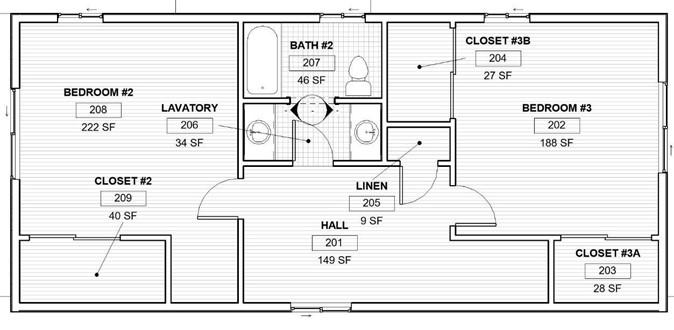
Tagged Rooms – Second Floor
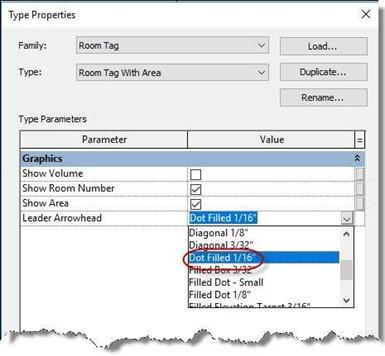
- To show dots at the end of the leader lines, click the Edit Type button for the Room Tag and change the Leader Arrowhead parameter to Dot Filled 1/16″.
Leader Arrowhead Parameter
- This is the end of Part 3. Save your file as RL3-3.
![AutoCAD shortcuts & hotkey guide [All]](https://civilmdc.com/learn/wp-content/uploads/2020/06/AutoCAD-Shortcut-keys-scaled-e1591837739256-931x1024.jpg)