
Editing Tools in AutoCAD
In this chapter, you will learn the following tools:
The Move tool
The Copy tool
The Rotate tool
The Scale tool
The Trim tool
The Extend tool
The Fillet tool
The Chamfer tool
The Mirror tool
The Explode tool
The Stretch tool
The Polar Array tool
The Offset tool
The Path Array tool
The Rectangular Array tool
Editing Tools
In previous chapters, you have learned to create some simple drawings using the basic drawing tools.
However, to create complex drawings, you may need to perform various editing operations. The tools
to perform the editing operations are available in the Modify panel of the Home ribbon. You can click
the down arrow on this panel to find more editing tools. Using these editing tools, you can modify
existing objects or use existing objects to create new or similar objects.
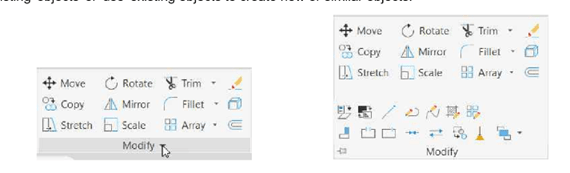
These editing tools are explained next, one-by-one.
The Move tool
The Move tool is used to move a selected object(s) from one location to a new location
without changing its orientation. To move objects, you need to select this tool and select the objects
from the drawing area. After selecting objects, you need to specify the ‘base point’ and the
‘destination point’.
Example:
Create the drawing as shown below.
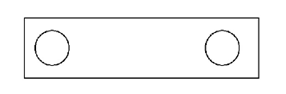
Click Home > Modify > Move on the ribbon or enter M in the command line.
Select the circle located at the left-side, and then right-click to accept the selection.
Select the center of the circle as the base point.
Make sure that the Ortho Mode is activated.
Move the cursor toward right and pick a point as shown below; the circle will be moved to
the new location, as shown.

